
Tips + Techniques
How to Photograph Black Objects on Black Backgrounds
June 25, 2021

The following is excerpted, with permission, from the article “Understanding Light Control—Photographing Black on Black and White on White” by photographer Zach Sutton, editor and frequent writer of the Lensrentals blog. Read his article in its entirety here.
Before we dig into the nitty-gritty finesse of photographing black on black, we must first have a principled understanding of how both white and black reflect and absorb light. If you’ve been in a studio before, you may have seen a few V-flats lying around. These large pieces of foamboard may be unassuming at first glance, but they can provide a lot of technique when shooting. Most frequently, these V-flats are white on one side, and black on the other because white will reflect light, whereas black will absorb it. In the videos below, I demonstrate how using a white V-flat and using a black V-flat, can add highlights and shadows to my subject’s face, depending on the position.
While these examples are minimal in execution, the results are much more visible when shooting with strobes (we had a video light going and some natural light bleeding into the windows). When shooting highly contrasted images, I will always implement black V-flats to control the light better. When shooting on white, the black Vflats on each side of your subject will ensure that the backdrop light isn’t spilling back onto your subject, and when shooting on black, the Vflats will better control the light spill, so it isn’t lighting the backdrop.
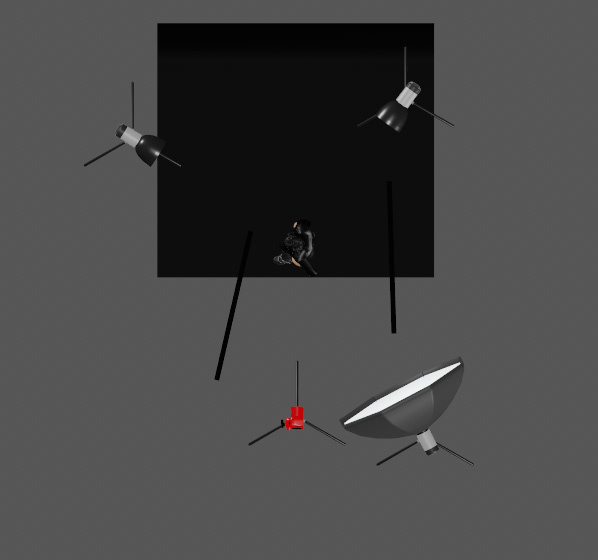
When shooting black on black, the secret is going to be controlling your light spill. This is where tools like Snoots, Barndoors, and flags will be exceptionally important. One of the most important tools I’ve learned to use when shooting black on black is implementing the modeling lights on your lights. By turning on your modeling lights, you can hyper-tune your rim lights and spill by getting a visual representation of where your light is going.
[Read: How to Shoot Varied Portrait Looks on a White Backdrop]
Another technique to avoid light spills is to feather your lights away from the backdrop. By feathering your light, you can have it spill onto the subject without adding light to the other elements. This will ultimately give you better control, and as previously mentioned, be sure to check your flashbulb style to ensure you’re feathering your lights properly.
Once you’ve developed a strong understanding of how to light bright subjects on light backdrops, and dark subjects on dark backdrops, you’ll better learn how to cut the light using flags, snoots, and barn doors to further experiment with your lighting principles.
[Read: Photography Basics: How Light Placement Alters a Subject’s Face]
Visit lensrentals.com to read Zach’s full article, Understanding Light Control—Photographing Black on Black and White on White.
Zach Sutton is the editor and a frequent writer at Lensrentals.com. He’s also an editorial and portrait photographer in Los Angeles, California, and offers educational workshops on photography and lighting all over North America.
Related Articles

Why Felix Kunze Thinks We’ve Been Overcomplicating Lighting (And What He’s Doing About It)
July 24, 2025
When it comes to lighting in photography, most of us instinctively reach for soft, flattering light. We diffuse our flashes, shoot through umbrellas, and seek out cloudy days. But what if I told you that some of the most striking portraitYou know the moment: your subject is ready, you’ve got about five feet of space to work with, and the...
More »

How to Photograph Fireworks for Couples Portraits
October 24, 2024
Fireworks aren’t just for the Fourth of July! You’ll find them regularly at theme parks, sporting events, and maybe more surprisingly, at weddings. For the latter, fireworks offer photographers a wonderful opportunity to capture epic couples portraits with a truly unique backdrop. Of course, if you’re not familiar with how to photograph fireworks, there are some basic tips you’ll want...
More »

Why Top Photographers are Embracing Hard Light (And You Should, Too)
October 23, 2024
When it comes to lighting in photography, most of us instinctively reach for soft, flattering light. We diffuse our flashes, shoot through umbrellas, and seek out cloudy days. But what if I told you that some of the most striking portraits actually come from embracing hard light? That’s exactly what renowned photographer Roberto Valenzuela teaches in his groundbreaking new Dynamic...
More »
