
Tips + Techniques
Flow Posing: Five Cute Couples Poses in Under 20 Minutes
July 12, 2023
I can still remember the taste of panic rising in my throat — the wedding had run behind, and now I only had twenty minutes to capture all the formal portraits of the wedding party. Thankfully, I had just finished an online posing class and had a new tool in my arsenal: flow posing. A technique to move through several poses quickly, flow posing is an essential tool not just for weddings, but for mini sessions, engagement shoots, and even grabbing a few quick shots of mom and dad at the end of a family portrait session. While flow posing can be used for anything from newborns to families, it’s also a great technique for creating cute couples poses in a short amount of time.
[Read: Photo Posing Tips and Trends for Wedding + Portrait]
Flow posing is simply a technique that quickly moves through multiple poses. It moves from pose to pose strategically to minimize the time needed between each shot. For couples poses, I start with where and how they are standing. This often takes the most time, so from here, I will make several smaller changes. I change up where they put their hands, the composition, and the angle. Then, I move to the next pose. That’s how five basic poses turn into a full gallery of unique images.
[Read: Wedding Posing Tips from WPPI Speaker Sanjay Jogia]
Here are my five go-to cute couples poses to capture more than 20 different images in 20 minutes or less. All five poses are standing poses, which means they work for a wide variety of couples, whether they are dressed up in formal wedding attire or wearing jeans, dating or celebrating their 50th wedding anniversary, opposite sex or same sex.
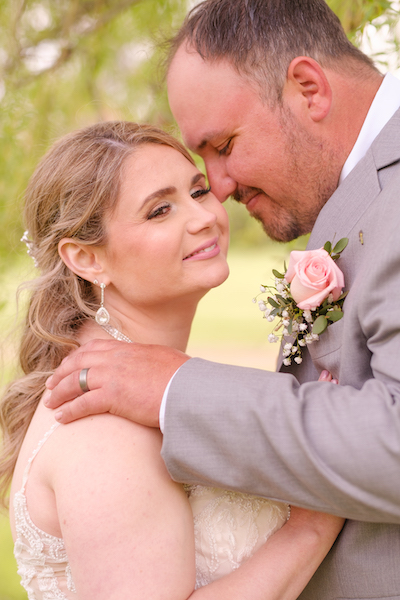
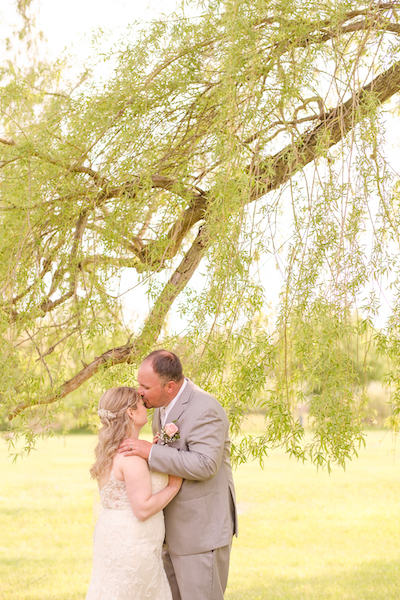
Facing Each Other
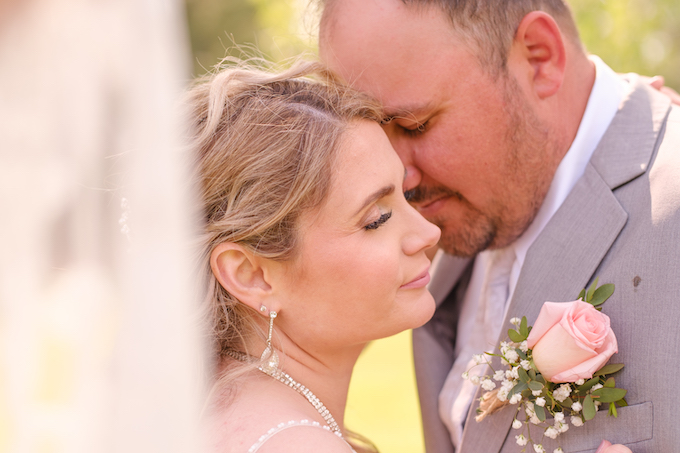
Start by having the couple face each other. Many couples will automatically stand with a “prom gap” between them, so for a more intimate pose I direct them to move closer together by staggering their feet. For example, her right foot may be between his two feet and her left foot outside his, with her left knee bent.
To add variety, change up the:
- Hands: Try her arms around his shoulders, his hand in her hair, his hand on her chin, her hand on his chest, or holding hands.
- Composition: Crop in close to their faces, the waist up, full body, and close-up on a detail.
- Angle: Start by standing so both couples faces are in profile, then move a little to the side so that she’s the main focus of the image. Then repeat on the opposite side so that he’s the main focus of the image. Stand on a chair or use your camera’s tilting LCD screen, if you have one, to shoot from a high angle.
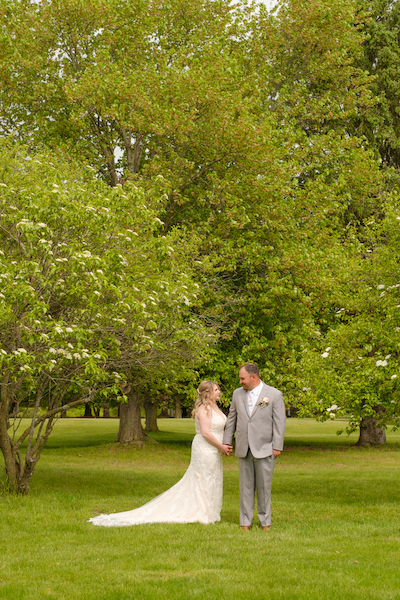
Side to Side
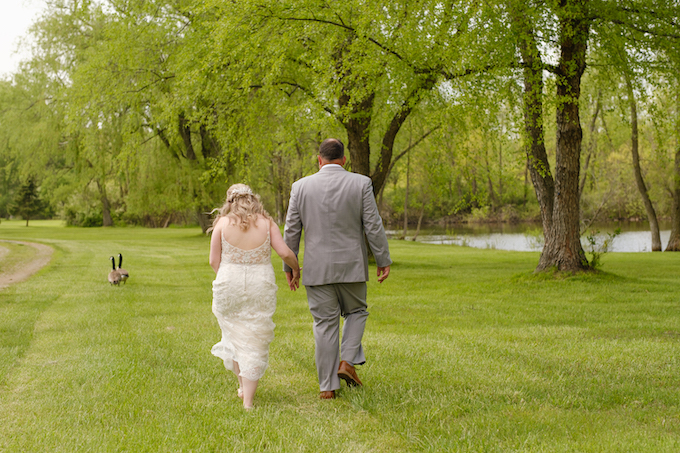
Another easy pose that most couples are comfortable with is standing side to side. An easy way to start is to simply ask them to hold hands. You can even have them walk towards you.
To add more options, change up the:
- Hands: Hold hands, his arm on her shoulder, her hands wrapped around his arm
- Prompts: Walk towards the camera, walk to the camera and bump hips
- Composition: Full body, waist up, head and shoulders
- Angle: Facing the couple and behind the couple
Reverse
Immediately after the couple is standing side to side, have one of them turn around in the opposite direction. For weddings, I almost always have the bride face away from the camera because bridal gowns often have a lot of beautiful detail in the back compared to a tuxedo. The person that is facing away from the camera should turn his or her face so that the profile is still in the image, rather than the back of the head.
For variety, change up the:
- Hands: Hold hands, link arms, his arm down at his side or in his pocket with her hands wrapped around his arm
- Composition: Full body, waist up, and head and shoulders
- Angle: Straight on, a little to one side, or if it works with the lighting, move behind them so the opposite person is now facing backwards
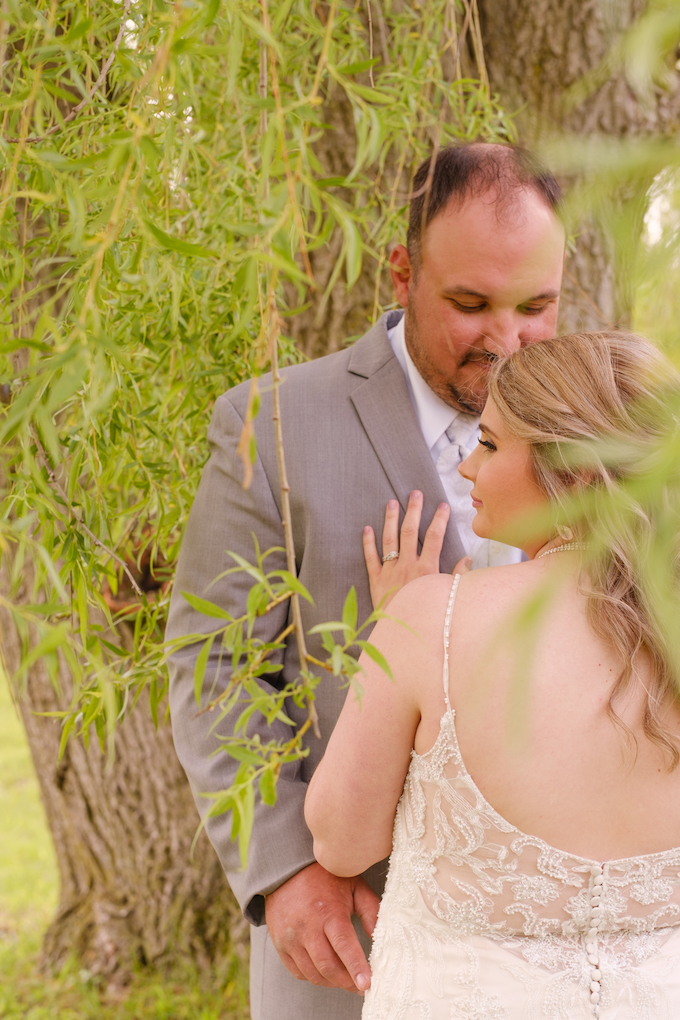
One to the Side
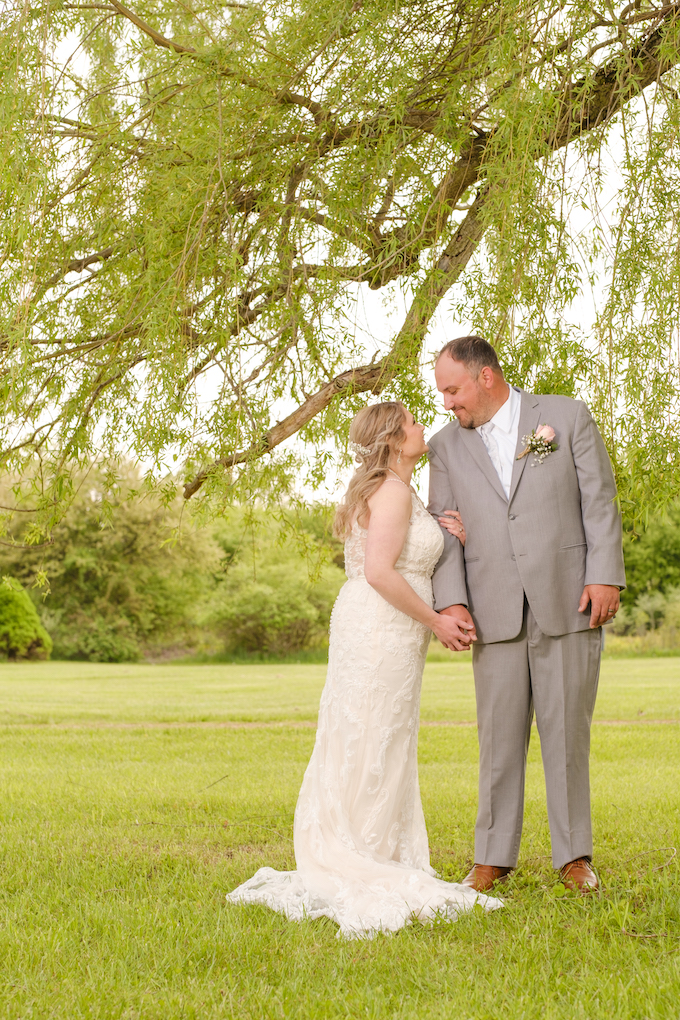
Next, have one person stand facing the camera and the other sideways to the camera, facing the other person’s shoulder so their bodies make a T shape.
Ready to mix it up? Adjust the:
- Hands: Have the sideways person hold the other’s closest hand with both hands. Then wrap arms around the other person’s arm.
- Composition: Full body, waist up, head and shoulders
- Angle: Straight on, higher up, to one side
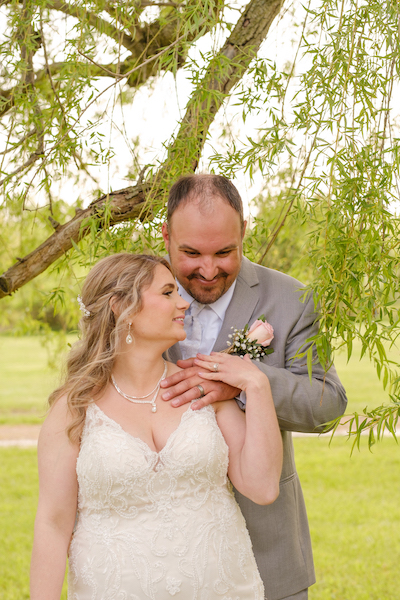
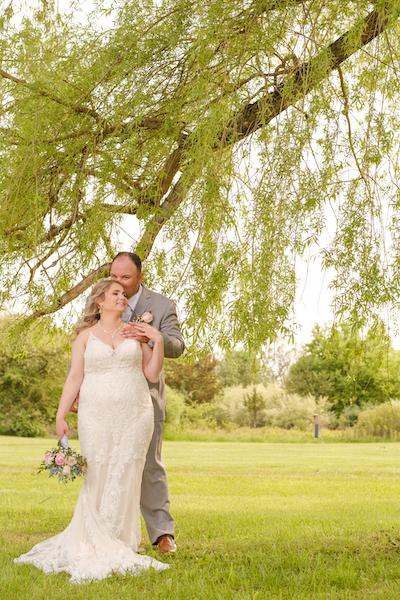
Stand Behind

Next, ask one person to stand behind the other. The success of this pose often depends on the couples’ height differences. If one is significantly taller than the other, have the taller person stand behind and wrap his or her arms around the person in the front. This is even better if there is something for the person in the back to stand on! If the couple is closer in height, I will have the shorter person stand behind and wrap arms around the other, with the front person’s shoulders angled a little. Then instead of shooting straight on, capture this pose from the side.
Mix it up by adjusting the:
- Hands: Avoid hands on stomachs (unless it’s a maternity session). Try one hand on the shoulder and one on the hip. Then have her touch her hands to his. If you are shooting from the side, another option is to hold hands or have the front person tuck hands in pockets and the back person place hands on his or her arms.
- Composition: Waist up, shoulders up, and full body
- Angle: Shoot from eye level, then from a higher angle as well
Make It Your Own
While flow posing is a great way to fit a lot of poses in a short amount of time, it’s not limited to just five basic poses. As you learn flow posing, integrate your own favorite poses and adjustments. Adding posing prompts is another great way to introduce variety in a short amount of time.
See more of Hilary Grigonis’ wedding portraits and find more posing tips on her Instagram.

Related Articles

Why Felix Kunze Thinks We’ve Been Overcomplicating Lighting (And What He’s Doing About It)
July 24, 2025
When it comes to lighting in photography, most of us instinctively reach for soft, flattering light. We diffuse our flashes, shoot through umbrellas, and seek out cloudy days. But what if I told you that some of the most striking portraitYou know the moment: your subject is ready, you’ve got about five feet of space to work with, and the...
More »

How to Photograph Fireworks for Couples Portraits
October 24, 2024
Fireworks aren’t just for the Fourth of July! You’ll find them regularly at theme parks, sporting events, and maybe more surprisingly, at weddings. For the latter, fireworks offer photographers a wonderful opportunity to capture epic couples portraits with a truly unique backdrop. Of course, if you’re not familiar with how to photograph fireworks, there are some basic tips you’ll want...
More »

Why Top Photographers are Embracing Hard Light (And You Should, Too)
October 23, 2024
When it comes to lighting in photography, most of us instinctively reach for soft, flattering light. We diffuse our flashes, shoot through umbrellas, and seek out cloudy days. But what if I told you that some of the most striking portraits actually come from embracing hard light? That’s exactly what renowned photographer Roberto Valenzuela teaches in his groundbreaking new Dynamic...
More »
