
First Exposure: Epson Stylus Pro 9900 Printer Review
September 1, 2009
When I first read about Epson’s new Stylus Pro 7900/9900 HDR printers introduced in Europe and Australia during the spring of 2008, I began the ardent task of trying to find a review sample for AfterCapture readers. While attending last year’s Photo Plus Expo in New York City, arrangements were made for me to use a 9900 for the duration of my review (months of extensive testing).
The Epson Stylus Pro 9600 was the first printer that I used when I embarked on my digital journey. Not only was I given the printer with Image Print Software, but all of my additional expenses were offset by corporate sponsorship. Because of metamerism rearing its ugly head on glossy paper, I always printed on Hahnemühle’s extensive line of Fine Art papers. The use of Color Byte’s Image Print 5.00 made wysiwyg (what you see is what you get) a reality.
I’m not saying everything was perfect. The Epson 9600 was replaced twice for head failure, and Image Print’s customary crashes kept me on the phone with tech support. But this was as good as it got, and I was constantly rewarded with the printer’s output, and people saying to me, “Is this really a digital print?”
The Epson 9800 eventually replaced the Epson 9600. Not only did its K3 ink technology eliminate metamerism, but I also believe this technology nurtured the development of the premium fiber papers we use today. Image print 7.0 improved its interface and became an integral and inseparable part of successful digital output.
Not to be outdone, HP and Canon entered into Epson’s printing domain with new head and ink technology, friendlier user diagnostics and well, another choice. We were no longer held hostage by one manufacturer. Photographers were now speaking out loud and in unison, and Epson lost its stronghold on market share.
In April I finally got a call from the shipper, and scheduled a time when the Epson 9900 with HDR Technology could be delivered. The deliveryman said, “I remember when I delivered you your first printer.” “Crazy,” I replied. “That was five years ago.”
Epson’s instruction manual continues to lead the field making setup a breeze. A word of caution: Two of us lifted the printer onto its stand despite the recommended four. If I were to do it again, I wouldn’t take the unnecessary risk. The printer’s trim and fit are superb, more metal where metal is due; covering the roll holder as well as having an integrated shelf to change paper rolls with Epson’s new roll media adapters. Gone are the spindle holder and plastic inserts. One size fits all with the media adapters, changing out rolls in half the time, providing less of an opportunity to damage the media. One also has the ability to monitor media length and type by setting up the automatic media tracking system via bar code encryption.
After the printer was completely assembled, the unit was turned on, and all 11 inks were charged. (The Epson is shipped with 110ml cartridges. Users then have the option of buying 150-, 350- or 700ml.) No longer is it necessary to stand nearby, pushing levers up and down, left side, right side. On the new Epson, push a button, and the doors automatically open up—right side, left side or both. When finished, close the door and let the printer do its work.
Once the inks were charged, and a nozzle check verified all jets were firing, the head alignment was activated from the printer’s front panel. Run both options in this sequence; “Uni-D All” allows the printer to self adjust; “Bi-D All” allows the printer to adjust the second time. And this concludes the hardware setup.
I first installed the software on a MAC running the Tiger operating system only to find out that I needed to upgrade to Leopard to access Epson’s AccuPhoto HDR with 16-bit output. I also found out that when I installed the new operating software, I had to reinstall all of my printers on my Ethernet (the 7900/9900 printers come with a 10/100 Ethernet port). Despite the additional time spent reinstalling various printers, Leopard is a more efficient system for this printer. While using Mac OS 10.4, I found that large files (400–600MB) would take in excess of 20 minutes to spool. Those same files in Leopard took two to three minutes. The native resolution for the 9900 is 360ppi. If your file is 300ppi, it will up-res to 360. If your file is 480, it will down-res to 360. For those of you who make large panos, print length cannot exceed 90.5 inches without the aid of a RIP (Read Image Print). Once software has been installed, use Epson’s LFP remote Panel 2 to verify any additional firmware updates.
Added to Epson’s color palette are orange and green. The addition of these two colors is similar to adding 8–12 points in Photoshop’s Hue Saturation Layer or Vibrance by 20–25 points, depending on the original color gamma and saturation of the photograph. Using my own ICC profiles didn’t produce overtly dramatic results, but even the untrained eye could see the difference between the 11880 and 9900 tests prints scattered across the table. If one lets the printer manage your color, the results are more dramatic, but unnatural, while colors tend to block up. I think that Epson’s new designation of Ultrachrome HDR Ink is confusing and misleading and in no way should it be compared or confused with HDR capture and processing.
It is imperative that in order to maximize the potential output of your work, one must get into the habit of soft proofing. In Photoshop, access View > Proof Setup > Custom. Include your desired profile in “Device to Simulate” and experiment with rendering intents, “Perceptual” and “Relative Colorimetric.” Pick the intent that you think is best and make adjustments accordingly.
While going back and forth between Tiger and Leopard, I made color profiles of 8- and 16-bit images on an eye-one iSis. As previously mentioned, I could only take advantage of 16-bit photos while using AccuPhoto HDR in Leopard’s environment. Expecting the Holy Grail, I was greatly disappointed—nothing, nada, zip! A blind test produced no difference between the two sets of prints generated from both operating platforms.
Up until now, I have been relying on Image Print not only to manage my color output, but also to manage my black-and-white work with its proprietary ICC profiles. Without Image Print, I was forced to work within Epson’s black-and-white interface, something that I have not particularly enjoyed doing in the past. Although I have previously taught this workflow at the Ringling College of Art and Design as well as numerous workshops, not everyone has the luxury of their own wide format printer let alone an expensive yet valuable piece of software such as Image Print. I was now like one of my students, making the best of what I have, or what I didn’t have.
What I did have were reference photographs I had printed on Epson 9800 and 11880 printers managed by Image Print. With only one choice available, “Advanced B&W Photo,” I actually let the printer’s driver manage my black-and-white files. Forget profiles and color management. Just push the button and let Epson do the printing. Has a nice jingle to it, doesn’t it?
In order to see the parameters of the printer’s output, I made a 38 level step RGB wedge. (In Photoshop, create New File, 360ppi, RGB.) Once the new file is open, create a boundary box with the Marquee tool. Chose the Gradient tool, dark to light, and hold down the shift key, drawing a straight line inside the box from left to right. Next select Posterize in Adjustments and choose the number of steps you prefer. I also included this step wedge in the border of my test prints in order to draw some correlation and conclusion between the scale and the prints themselves when using Epson’s tonal choices; Darkest, Darker, Dark, Normal, and Light. Normal and Light produced the full range, while Dark, Darker, Darkest compressed the second to last step, left side from 6-6-6 RGB to 0. When printed as a halftone, these last two steps should theoretically appear as one.
One would assume that if there is information in all of the steps, Normal or Lighter would produce the best prints, but that is not the case. Using Normal, and adjusting the Shadow and Highlight Tonality sliders in Epson’s Advanced drop-down box allows the user to further adjust the print similar to using two-bath development in the darkroom. In my analog workflow, I would typically take grade two and grade three papers and split-develop in Selectol soft and Dektol, compressing or expanding shadows and highlights creating greater D-max and the feeling of an extended tonal range.
And the outcome? I was not only impressed with the neutrality of the color, or lack of color, but the tonal transitions were smoother than the 9800 and 11880 printers. At first I thought that my black-and-white photographs were a little flat, but once I realized that it was the contrast caused by the lack of information in my old prints, I re-adjusted the Shadow and Highlight Tonalities, experimenting with Dark and Normal settings. This obviously isn’t one size fits all. You will have to make test prints to get the best output you are capable of, but all within the Epson driver. Once you find your formula, I encourage you to go into Photoshop > File > File Info and write down all of your printer settings. As a result of understanding the printer’s interface, these are the finest black-and-white prints that I have produced, all without a RIP, and without ICC profiles.
Imagine what a RIP would do to the work. I can only attribute the quality to Epson’s new Variable Drop Technology (larger dots, more color, smaller dots, less grain) and its 10-channel Thin Film Piezo Heads and algorithms.
Unlike using a RIP, Epson doesn’t allow you to see a live view of your adjustments directly applied to your images. Looking at a model who has been chosen doesn’t give me any indication of what the results will look like during my editing process.
What is really missing from this printer are the plagued roller marks. Yeah, the ones only a few of us have been victim to. Not noticeable on color, but they would constantly be a problem on my black-and-white work, especially with a black background. They would randomly occur on my 7800 and 9800, in a temperature-, and humidity-controlled environment. The only way I could eliminate the problem was to manually adjust the paper lever. Well, you can’t adjust the paper lever, unless you have a sock monkey. No joke— placing the sock monkey under the paper lever relieved the pressure, eliminating the pinch marks.
Hey, we’re not done yet. I was never impressed with the D-max of the Epson 9800, especially when I used Hahnemühle’s Fine Art Pearl. Not so much of a problem with color, but once again, when my images were predominantly black, there appeared to be some screening issues. As a result, I changed inks, watching $75 go down the drain while I waited 20 minutes to use the matte black.
It’s obvious that the Epson 9900 is a new printer designed from the ground up, but will my sock monkey be retired? What’s this, no lever? Just a button, with accessible vacuum adjustments on the front panel. And no pinch marks! D-max for Hahnemühle Baryta Fine Art is 2.75 compared to Kodak’s former Elite Grade 3, 2.59, or Ilford’s Gallery Grade 3, 2.40. It’s black, very black. And that cutter they used to have? Gone. Replaced by a rotary cutter, that is exceptional. The sound of it going across a 44-inch roll is music to my ears, each cut as fresh as the first, regardless of the paper stock’s thickness.
So what’s wrong with this picture? The end user cannot change print heads or is able to reset the printer to factory specifications. Sounds like the cost of an extended warranty is required. This is an electronic machine; load paper, push a button, open ink bins, push a button. During a printing session, I ran out of Light Magenta. Popped another cartridge in, nothing. Printing session ended. Got another Light Magenta Cartridge, printing session started, until I had the same problem with the Vivid Light Magenta. Thanks to Alex Ried’s support, Lexjet’s Product Line Manager, I was able to continue printing later on in the day.
I called Epson tech support; courteous, understanding, “here’s our FedEx number.” I received the ink two days later (I did not tell them that I was reviewing their printer). I later found out that on occasion, air gets into the line, and a couple of knocks on the cartridge will usually dislodge any air bubbles created during transit, but not in my case. I also found out that the little microchip on the cartridge actually counts the drops leaving the cartridge. When you see one percent remaining on the printers control center, don’t panic, it just keeps printing and printing and printing. The failed cartridges have been the only problem, albeit, a significant one encountered during my testing.
Less is more, and in the case of this printer, it works and does things so very well, like exceptional output. Despite its few shortcomings, I took my own advice, and bought the review sample—the first wide format printer I ever had to purchase.
Steven Katzman, a self-taught photographer, established Steven Katzman Photography, LLC in 1990. His recent book is The Face of Forgiveness, Salvation and Redemption. Mr. Katzman has been on the faculty at the Ringling School of Art and Design since 2003. He is a Lexar Elite Photographer, a Gretag Influencer and is sponsored by Bogen Imaging. Visit his website: www.stevenkatzmanphotography.com.
Related Articles
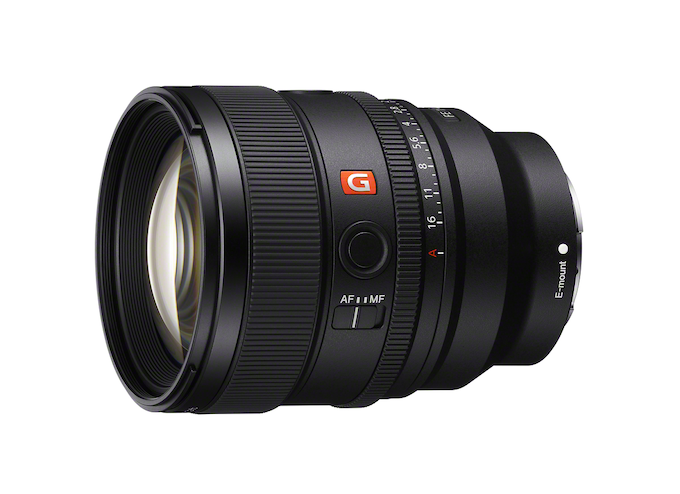
Sony’s Nex-Gen FE 85mm f/1.4 G Master II Prime Lens
September 24, 2024
For many photographers, a fast, 85mm prime lens is a dream lens. It’s perfect for a variety of portrait styles and can produce the dreamy bokeh that is the hallmark of large aperture glass. The latest 85mm prime on the market is the second generation Sony 85mm f/1.4 G-Master II. The original was introduced eight years ago, to meet (or...
More »
Canon Announces New RF28-70mm f/2.8 Zoom Lens
September 19, 2024
Canon released a new standard zoom with its RF28-70mm f/2.8 IS STM lens. This lens provides a versatile focal range similar to the RF24-70mm f/2.8 L USM lens but at less than half the price: $1,099 vs. $2,499. Granted the L designation of the older lens is, at least partly, responsible for the price difference but the new 28-70mm will...
More »

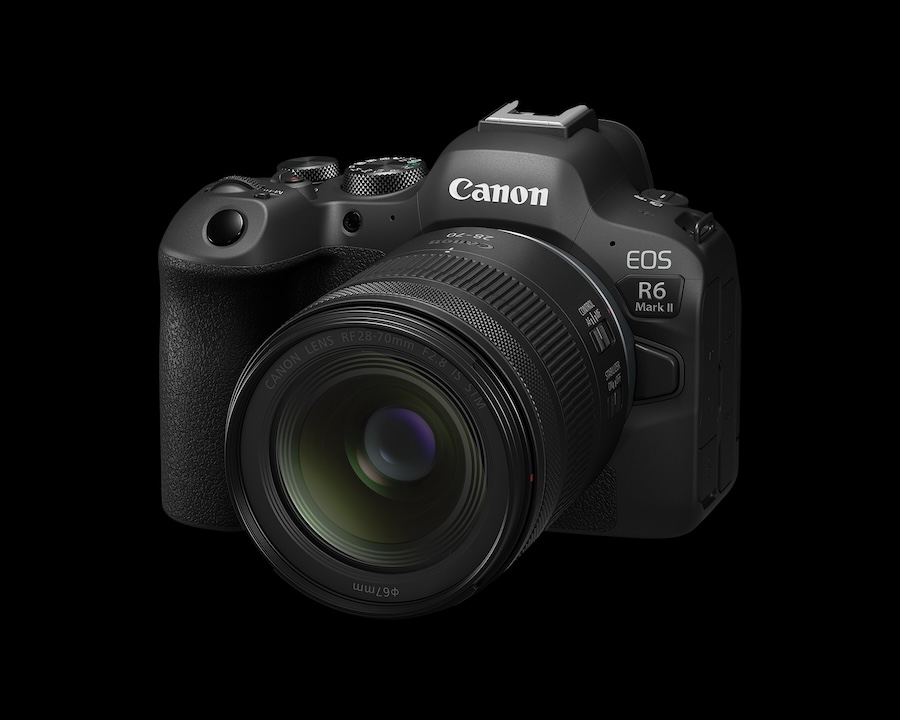
Canon Launches Two Pro-Level Cameras
July 18, 2024
Canon has officially launched two new, pro-level R-series mirrorless cameras: the 24-megapixel EOS R1 with its high speed performance and the 45-megapixel, high resolution EOS R5 Mark II. Not surprisingly, the R1 with its 40fps burst shooting will appeal to sports photographers and photojournalists—hence its built-in Wi-Fi and Ethernet. Of course, we expect to see this camera in action at...
More »
