
Veil and Textures
March 1, 2010
In the current economy, where the professional portrait and wedding photographer’s main competition is not other photographers but rather all of the necessities and luxuries of life, competing for sales can be very difficult. Being able to offer unique looks in your work is often the key to profits, and Veil and Textures software may be the answer for you.
Veil and Textures is a plug-in for Photoshop CS2 or CS3 from Richard Miller Photography (www.rmillerphoto.com) of Delray Beach, FL, and is available for both Windows and Macintosh platforms. It consists of 12 translucent veils and 12 textures that you can combine with your existing photos to create unique images. The veils will primarily be of interest to wedding photographers, while the textures should appeal to wedding, portrait, senior and even some commercial shooters.
Veil and Textures automatically detects Photoshop during installation. When the install is complete, you access the program through the File > Automate menu. The first time you open the program you must authorize the installation online.
Although there is no manual, tutorial or Help functions, using the program is straightforward enough for anyone familiar with Photoshop layers, layer transforms and layer masks. After opening your working image in Photoshop, it is helpful to enlarge the document window so there is a little space around the image.
When you open Veil and Textures from the Automate menu, you are presented with the choice of using the Texture or Veil modules. Choosing Texture, the Veil and Textures window present you with thumbnails of the available textures and a larger Preview of the currently selected texture. Double-clicking on the texture you want to use closes the Veil and Textures window and takes you back to Photoshop where the texture opens as a separate layer at 50% opacity in the Normal blending mode at the full size of your original. It also leaves you in the Edit > Free Transform mode, which is why it is nice to have some space around your original. Without the extra space it can be difficult to grab the handles or rotate or scale the texture if you decide you need to.
When you are happy with the position of the texture, hitting the Enter key saves the layer. While the default opacity is 50% and the default blending mode is Normal, I found it interesting to experiment with other opacities and blending modes for wilder effects. I also found myself adding a layer mask and painting on it with black or gray in the areas where I wanted my original image to be unaffected by the texture. The possibilities are limited only by your imagination and creativity.
While Veil and Textures assumes you want the texture overlaid on your image, I found the textures also made interesting backgrounds when you mask out the subject and drag the texture layer below the original image layer. The textures are sharp in the program, but adding a Gaussian blur to them when using them in the background created an even more interesting effect. Again, they are great starting points for your creative energy.
The Veil module operates in exactly the same way. Open your image, select Veil from the Veil and Textures windows and choose one of the 12 available veils. When you are back in Photoshop, you use the Free Transform to scale or rotate the veil, or any of the other transforms to skew or distort it. Hitting the Enter key saves the veil on its separate layer, again at 50% opacity and in Normal blending mode.
I found that changing the blending mode to Screen gave a brighter, whiter veil. Normal mode looked a little gray and dingy to me with my originals, but again, you need to play around to find a result you like. Changing the opacity of the layer gives you further control of the strength of the added veil. The veils truly are translucent, and, with care, the final result can be truly believable.
The problem is, when I showed the results to a few of the brides whose weddings I had shot, they wondered why I had added a veil to their photo when they weren’t wearing one! I didn’t have a good answer either. In discussing this with a couple of wedding photographers, they too didn’t think the device would work with their clients.
But, as Richard Miller pointed out to me there are times when adding a veil in postproduction will not only please the bride, but simplify life for the photographer. For example, if the wind is blowing too strongly and the bride needs to remove her veil for photos, adding a blowing veil later can be welcome, and adds a nice fashion-photo touch to the image.
He also points out that if the bride has a long veil and there is no wind, adding a flowing, wind-blown veil in postproduction can measurably enhance the image. And finally, many veils are so thick that it is difficult to see the bride’s face through them. Shooting without a veil, then adding a Veil-and-Textures veil in post allows you to see exactly the effect you want without hiding the bride’s face. Plus you have the added advantage of retouching the bride’s face in the close-up, then adding the veil.
Finally, with both the Texture and Veil modules of Veil and Textures, it is possible to create those portfolio images that will separate you from the crowd and close the sale that will add to your bottom line in this competitive economy.
Veil and Textures is available for $149 directly from Richard Miller Photography by calling (561) 330-2323. Additional Texture modules are available for $49.
SYSTEM REQUIREMENTS
Windows®
• Microsoft Windows XP 32 or 64 bit (with latest Service Pack installed)
• Microsoft Windows Vista® 32 or 64 bit (with latest Service Pack installed)
• 512MB RAM
• Intel Pentium 4 or AMD Athlon XP™ or better CPU
• 200MB of available disk space
• User must have Administrator rights to install, uninstall
the application.
• Monitor resolution of 1024 x 768 pixels or higher
• Internet connection required for software update
Macintosh®
• Mac OSX 10.4.11 or 10.5.x (with the latest updates installed)
• G4 Processor or higher (Intel recommended)* or Mac OSX 10.6
• 512MB RAM
• 350MB of available disk space
• User must have Administrator rights to install and uninstall the application
• Monitor resolution of 1024 x 768 pixels or higher
• Internet connection required for software update
Compatible Software Supporting DNG Profiles
• Adobe® Lightroom® 2.0 or newer
• Adobe® Photoshop® Camera Raw 4.5 or newer
• Adobe® Photoshop® CS3 or newer
• Adobe® Photoshop® Elements 7 or newer
• Adobe® Bridge CS3 or newer
For use in a RAW editor
Any RAW editor with click custom white balance capability
LANGUAGE VERSIONS
This product is available
in the following languages:
• English
• French
• Italian
• German
• Spanish
• Portuguese
• Simplified Chinese
• Japanese
ColorChecker Passport
Physical Specifications
• Size: 125mm (H) x 90mm
(W) x 9mm (T)
• Weight: 80 grams or 3 oz.
• Humidity range: 85% or less, non-condensing
• Temperature range for normal use of the case: 32°–104° Fahrenheit / 0°–40° Celsius
Stan Sholik is a contributing writer for NewsWatch Feature Service. He is also a commercial photographer with over 30 years of large format studio and location experience.
Related Articles
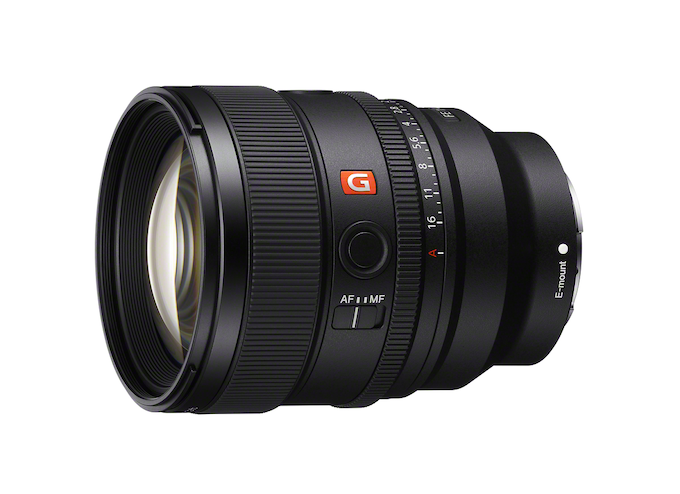
Sony’s Nex-Gen FE 85mm f/1.4 G Master II Prime Lens
September 24, 2024
For many photographers, a fast, 85mm prime lens is a dream lens. It’s perfect for a variety of portrait styles and can produce the dreamy bokeh that is the hallmark of large aperture glass. The latest 85mm prime on the market is the second generation Sony 85mm f/1.4 G-Master II. The original was introduced eight years ago, to meet (or...
More »
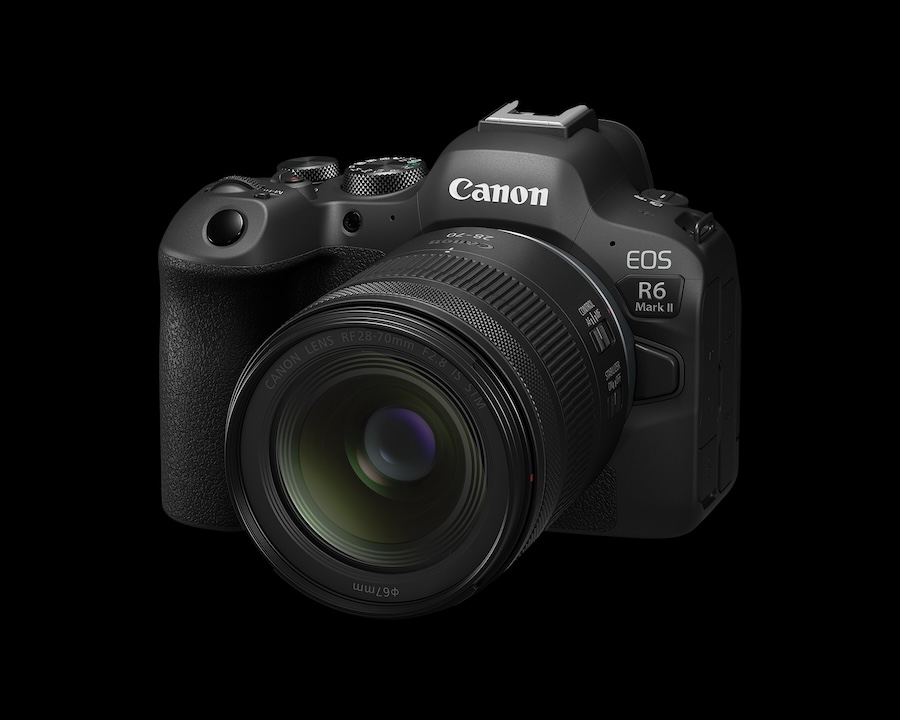
Canon Announces New RF28-70mm f/2.8 Zoom Lens
September 19, 2024
Canon released a new standard zoom with its RF28-70mm f/2.8 IS STM lens. This lens provides a versatile focal range similar to the RF24-70mm f/2.8 L USM lens but at less than half the price: $1,099 vs. $2,499. Granted the L designation of the older lens is, at least partly, responsible for the price difference but the new 28-70mm will...
More »

Canon Launches Two Pro-Level Cameras
July 18, 2024
Canon has officially launched two new, pro-level R-series mirrorless cameras: the 24-megapixel EOS R1 with its high speed performance and the 45-megapixel, high resolution EOS R5 Mark II. Not surprisingly, the R1 with its 40fps burst shooting will appeal to sports photographers and photojournalists—hence its built-in Wi-Fi and Ethernet. Of course, we expect to see this camera in action at...
More »
