
ContrastMaster for Mac
March 1, 2010
My apologies to Harald Heim, the software genius behind a large number of interesting and inexpensive image and video plug-ins available on The Plugin Site (www.thepluginsite.com). I downloaded ContrastMaster 1.0 for Mac shortly after it became available in December 2008 in order to review it, and it’s taken almost six months for me to come to grips with it enough to feel comfortable putting words to computer screen.
I will bear the majority of responsibility for the delay. It’s not that I haven’t tried to make sense out of the program. I have tried on multiple occasions, then given up in frustration.
But some of the responsibility is yours, Harald. In creating an entirely new vocabulary of terms to deal with contrast, then packaging them in an attractive but complex interface, and offering few clues about when to apply the tools, you made it difficult for a logical, rule-following user to get comfortable with the program.
It wasn’t until I chanced upon a blog entry by you that I decided I should just get on with using the program. You said, “My own experience as (ContrastMaster’s) developer is that my knowledge does not really help me much in using them (ContrastMaster tools), because they can produce different results depending on the image. So I think trying them and observing what the options do will give you a better idea about them.”
I’m just not the trial-and-error type, but in this case, I have to agree that it is the only reasonable way to learn ContrastMaster. And the results I achieved make me thankful that you knocked me out of my “logic” box and forced me to try ContrastMaster on a large number of images in order to learn what the program can do.
I had always thought of “contrast” as a fairly simple concept. Contrast was the relative difference between objects that allowed us to distinguish between them, whether the objects were in a physical scene, in a print or transparency or on a computer monitor. Contrast was made up of color contrast and brightness (luminance) contrast. Pretty straightforward. And I thought that for digital images, I already had enough tools in Photoshop, Lightroom and other imaging software to deal with any adjustments I would want to make to the contrast of an image.
It turns out I was wrong in both cases. ContrastMaster showed me that contrast is quite a complex concept and that the tools available outside of the ContrastMaster software are inadequate to deal with all of its subtlety.
ContrastMaster offers three local and four global contrast adjustment methods as well as various masking, saturation and brightness options. The three local adjustment methods allow you to dramatically improve contrast in small image details without blowing out highlights or damaging the image. You can apply these three methods separately or use various options to mix them together for even better results.
The four global methods (Shadow/Highlight-Contrast, Stretch, Equalize and Polarize) work on the tonal range of the image and help to improve the result even further. There is also an option for changing the brightness of the image. The masking options let you remove the ContrastMaster effect from an image area where you do not want to have it applied, e.g. skin areas, a blue sky or a wall. This can be done with the help of shadow/highlight and color masking options. Additionally, a saturation mask feature lets you improve saturation without oversaturating the image.
Sound overwhelming? Confusing? I found it to be confusing, particularly when the local contrast adjustments are named “Dynamic,” “Adaptive” and “Local,” and act on specific areas of the entire image and the Shadow/Highlight-Contrast Global adjustments only act on local shadow or highlight areas. Ultimately the only way I could deal with this was to use the software on lots of images to see what the sliders would do to them.
ContrastMaster is helpful in this learning process. When you first open the program by selecting Filter > Photo Wiz > ContrastMaster 1.0 in Mac Photoshop, you are presented with a dialog box saying you are opening ContrastMaster for the first time so it will open in the Novice mode. (Six months and numerous openings, I still get this dialog box.) The Novice mode presents you with simplified controls with only the three local contrast adjustment sliders and three of the global adjustment sliders plus a Saturation slider available.
A default amount of contrast adjustment is applied to the image that is seen in a preview window to the left of the controls. I was constantly frustrated with how small the ContrastMaster interface is, making it very difficult to adequately evaluate the effect of the adjustments on the image preview. I needed to drag the window around then drag the bottom left corner each time I opened a new image in order to enlarge it to allow a decent size preview.
Once you’re happy with the preview size, you can begin playing with the sliders. I tried two different methods to learn the local effects. First I set them all to “0,” then I adjusted the Dynamic slider to 100 to see what its effect was. If you hold down the Shift key while you do this, the preview updates dynamically. After I set the Dynamic slider back to “0” I followed the same procedure with the Adaptive and Local sliders.
Another approach is to use the ContrastMaster adjustment presets. They are available through a dropdown menu that you access by clicking on the down arrow in the upper box of the interface. By making selections here and observing both the slider positions that result and their effect on the preview image, you can also gain insight into what is going on with them.
The software presents you with several options of looking at the image while doing all this. You can hold down the Shift key as I mentioned, or divide the screen in half. Once divided you can choose to see the image across the whole preview with the unadjusted image in half the screen and the adjustment applied to the other half of the image. You can also choose to have the same part of the image in both halves of the preview with the adjustment applied to just one of the halves. I found that this was the best way for me to work.
Once you are reasonably comfortable with the Novice method, it’s time to click on the Expert mode. In the Expert mode the tool options increase considerably. Rolling your mouse over each option brings up a description in the Help window at the lower right of the interface, which may or may not be of much help.
The question mark at the bottom of the interface brings up the online manual, which again you may or may not find helpful. I found it more a collection of hints than a manual, and the source of my initial frustration. My only recommendation is to do what I have done: open up a large number of images and move the sliders while you pay attention to both their positions and the effects they generate in the image.
Bottom line is that the ContrastMaster gives you more control over contrast than any other program available. The Dynamic adjustment is similar to what you get in other imaging programs, but with the ability to control whether the contrast is enhanced for large details or small details. The Adaptive adjustment automatically adjusts details of different size at the same time as you move the slider. It seems to be unique to ContrastMaster, but I felt it must be applied with some care since it caused a lot of artifacts in smooth areas for me. However, these can be removed with the Mask tool in the program. The Local adjustment emphasizes edges and works a lot like applying Unsharp Mask to an RGB image.
There are added bonuses in ContrastMaster. The Equalize slider in the Global palette, combined with strong contrast effects can produce pseudo-HDR results. The Polarize slider does an excellent job of darkening blue skies with no effort on your part or the need to use another program. A Histogram with many viewing options is available, as well as an Info palette so that you can make sure you haven’t gotten too carried away with your highlight and shadow adjustments.
I found very few images that didn’t benefit is some way when adjusted in ContrastMaster, but then again, I have my digital cameras set for low contrast when I shoot. It’s always easier to raise contrast than lower it. If you find yourself in need of more control over contrast than your imaging program can provide, download the ContrastMaster for Mac demo and try it out.
There are three versions of ContrastMaster for Mac depending on your hardware and software. All versions are available from The Plugin Site (www.thepluginsite.com) for $69.95. Windows versions are also available for the same price.
Stan Sholik is a contributing writer for NewsWatch Feature Service. He is also a commercial photographer with over 30 years of large format studio and location experience.
Related Articles
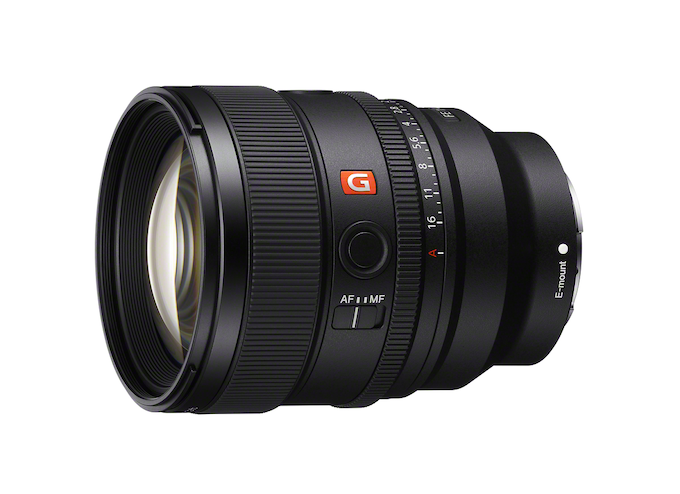
Sony’s Nex-Gen FE 85mm f/1.4 G Master II Prime Lens
September 24, 2024
For many photographers, a fast, 85mm prime lens is a dream lens. It’s perfect for a variety of portrait styles and can produce the dreamy bokeh that is the hallmark of large aperture glass. The latest 85mm prime on the market is the second generation Sony 85mm f/1.4 G-Master II. The original was introduced eight years ago, to meet (or...
More »
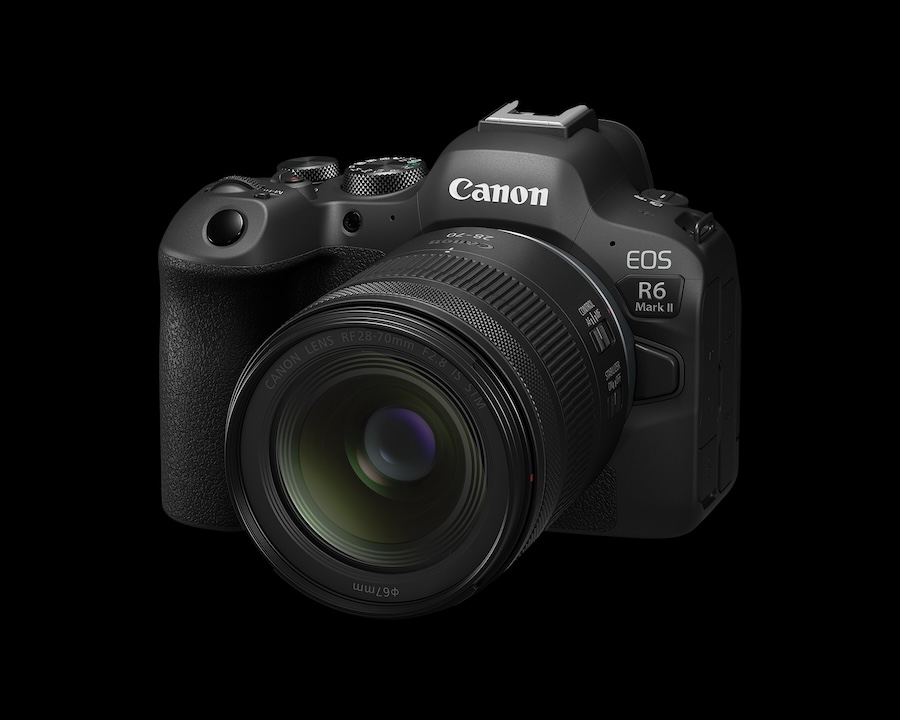
Canon Announces New RF28-70mm f/2.8 Zoom Lens
September 19, 2024
Canon released a new standard zoom with its RF28-70mm f/2.8 IS STM lens. This lens provides a versatile focal range similar to the RF24-70mm f/2.8 L USM lens but at less than half the price: $1,099 vs. $2,499. Granted the L designation of the older lens is, at least partly, responsible for the price difference but the new 28-70mm will...
More »

Canon Launches Two Pro-Level Cameras
July 18, 2024
Canon has officially launched two new, pro-level R-series mirrorless cameras: the 24-megapixel EOS R1 with its high speed performance and the 45-megapixel, high resolution EOS R5 Mark II. Not surprisingly, the R1 with its 40fps burst shooting will appeal to sports photographers and photojournalists—hence its built-in Wi-Fi and Ethernet. Of course, we expect to see this camera in action at...
More »
