
First Exposure: X-Rite ColorChecker Passport
January 1, 2010
Color management of monitors, scanners and printers plays an important role in the lives of digital photographers. The one place where color management has not found an easy integration is with digital cameras. X-Rite Corporation (www.xrite.com) is out to change that with the X-Rite ColorChecker Passport.
Every digital imaging and output device sees color differently. Color management strives to compare the way that each device sees color to a color standard and then to generate a profile as a consistent baseline for the user. Both Lightroom, in its Develop module, and Camera Raw, in its Camera Calibration tab, have controls for calibrating a digital camera. Adobe has a free, downloadable DNG Profile Editor (www.adobe.com/go/learn_ps_dng) that photographers can use to create custom profiles for their cameras.
If you have ever used the camera calibration tools in these programs, or the DNG Profile Editor, for their intended purposes, believe me, you are in a tiny minority of users. Most photographers, myself included, have never given a thought to camera calibration even when we were aware it existed.
For me, and maybe for you, the reason is simple. Camera calibration doesn’t fit into any comfortable workflow. This is the problem for which the Passport provides a solution. By using the Passport hardware while shooting and the Passport software in postproduction, you have a quick, simple tool to generate a consistent baseline color response of your camera in every photographic situation.
The Passport system includes both hardware and software components. The hardware is a passport-size case with color and white balance charts inside. The software installs on Mac and Windows computers and consists of a standalone application and a plug-in for Adobe Lightroom 2. The Passport is designed for integrating into a RAW file workflow, but JPEG shooters will also find it helpful in white balancing and as a visual reference for color correction in postproduction.
There are three targets in the Passport case. The White Balance Target can and should be used when capturing in RAW or JPEG to create a custom white balance in-camera, immediately before shooting. The Creative Enhancement Target can be used in both RAW and JPEG postproduction to provide one-click enhancements to files. One row of patches provides multiple levels of warming for portraits while another row provides cooling for landscapes. The top row of eight patches provides a visual reference of color fidelity across all hues. And using the bottom row, you can quickly see if there is highlight or shadow clipping and the separation of highlight and shadow values.
The third target, the 24-patch Classic Target, is the real workhorse in the Passport hardware. This is the target that the Passport software uses to create a DNG (not an ICC) profile of your camera to the scene’s lighting when you capture in RAW. It is a miniature Macbeth chart, with each patch representing the colors of natural objects such as skin tones, sky and leaf green. There are also RGB and CMYK colors. All patches are printed in pure flat colors that reflect light much like their natural counterparts.
Camera calibration with the Classic Target integrates smoothly into a Lightroom workflow. Having custom white balanced your camera under the scene lighting, you make a RAW capture at any time with the Classic Target in the scene. For cameras with 10-megapixel or better resolution, the target can take up as little as 10% of the image area. The Passport case is designed to stand by itself either horizontally or vertically, or to be handheld.
Once the assignment is over, you import the files into Lightroom, navigate to the image with the Classic Target and select it. Then select File > Export, and in the Export window on the left you will find “X-Rite Presets > ColorChecker Passport.” When you click on ColorChecker Passport, the right side of the window opens asking you to name the DNG profile the software will create. After you do this and click Export, the Passport software creates the profile and stores it in the proper location for your operating system. This takes about 20 seconds for a 12-megapixel RAW file on my late model Mac and Windows XP systems.
To use the profile, you must restart Lightroom. This is a pain, but it is a Lightroom issue over which X-Rite has no control. Once you are back in Lightroom, select one of the files shot under similar lighting as the image you just profiled. Navigate down to Camera Calibration in the Develop module and click on the downward-pointing triangle at the upper right. Your new profile will appear in the dropdown list. Select it and it will be applied to the image. Then select all of the other images shot under similar lighting, click Sync and make sure that the Calibration box is checked. Click “Synchronize” and the new calibration will be applied to all of the images. You can now tweak the in-camera white balance you set using the Creative Enhancement Target or individually for your files.
Not using Lightroom for RAW conversion? No problem. Open the RAW file containing the Classic Target in Adobe Camera Raw or other RAW editor and save it, without any other changes, as a DNG file. Then load this file into the standalone ColorChecker software and follow the instructions to create the DNG profile. The software creates the profile and saves it where it can be used by Lightroom 2.0 and newer, Adobe Camera Raw 4.5 or newer, Adobe Photoshop CS3 or newer, Adobe Elements 7 or newer and Adobe Bridge CS3 or newer.
While it is easily possible to create profiles for each different lighting condition on every assignment, you can also use the Passport system to create a profile that will get you very close under all lighting conditions. You do this by creating a Dual-Illuminant Profile either in Lightroom or in the standalone software. First you must shoot the Classic Target with the same camera and lens using two different lighting illuminants. I used studio flash and then the modeling lights only. You load both images in the software and a “generic” DNG profile is saved to your computer. You would use it just as you would the scene-specific profile described above to correct RAW captures. It really works amazingly well, even adjusting captures under fluorescents and mixed lighting conditions.
Scene-specific profiles are more accurate of course, but, as I tested, I ended up getting a long list in the Lightroom Camera Calibration dropdown. At present there is no provision in the Passport software to delete profiles for which you no longer have a need. You can of course track them down on your hard drive and delete them from the folder in which they are stored.
The X-Rite website, www.xrite.com, contains a wealth of other information about using the ColorChecker Passport, including some very helpful videos. With an MSRP of $99, the X-Rite ColorChecker Passport makes fast, accurate camera calibration available to every digital SLR photographer.
Stan Sholik is a commercial/advertising photographer in Santa Ana, CA, specializing in still life and macro photography. His latest book, Professional Filter Techniques for Digital Photographers, is published by Amherst Media.
Related Articles
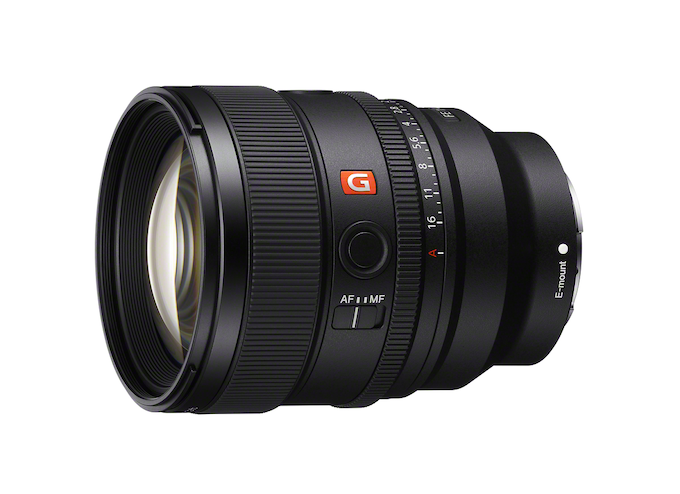
Sony’s Nex-Gen FE 85mm f/1.4 G Master II Prime Lens
September 24, 2024
For many photographers, a fast, 85mm prime lens is a dream lens. It’s perfect for a variety of portrait styles and can produce the dreamy bokeh that is the hallmark of large aperture glass. The latest 85mm prime on the market is the second generation Sony 85mm f/1.4 G-Master II. The original was introduced eight years ago, to meet (or...
More »
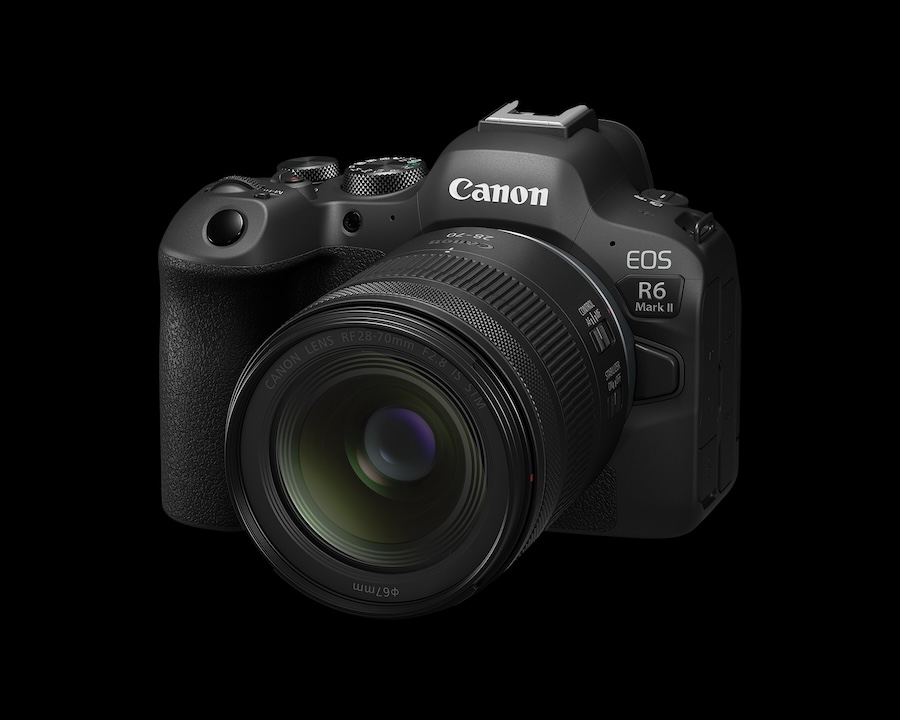
Canon Announces New RF28-70mm f/2.8 Zoom Lens
September 19, 2024
Canon released a new standard zoom with its RF28-70mm f/2.8 IS STM lens. This lens provides a versatile focal range similar to the RF24-70mm f/2.8 L USM lens but at less than half the price: $1,099 vs. $2,499. Granted the L designation of the older lens is, at least partly, responsible for the price difference but the new 28-70mm will...
More »

Canon Launches Two Pro-Level Cameras
July 18, 2024
Canon has officially launched two new, pro-level R-series mirrorless cameras: the 24-megapixel EOS R1 with its high speed performance and the 45-megapixel, high resolution EOS R5 Mark II. Not surprisingly, the R1 with its 40fps burst shooting will appeal to sports photographers and photojournalists—hence its built-in Wi-Fi and Ethernet. Of course, we expect to see this camera in action at...
More »
