
First Exposure: Artefact Studio Web-based Book Design
January 1, 2009
Artefact Studio is a Web-based book-making application, targeted at photographers, for making albums, proof books, portfolios and fine art books. I had a chance to experiment with Artefact and experience the quality of the product while producing a book. I’ll share with you my findings and fill you in on some of the features that the development team is working on.
With Artefact you sign up for an account online at www.artefactstudio.com. There is no membership fee—you pay nothing until you order a product! After logging in to your account, you upload images, organize them into books, albums or portfolios and order your products from the website. This Web-based strategy has its advantages and disadvantages. One big advantage is that once the images are uploaded you can log on from anywhere and use any computer to work on your books on the Artefact site.
Another advantage, which I discovered during the course of several days while I laid out a 10 x 12-inch wedding album, was the ease with which the developers can update the product. I had been experiencing some frustration with the limited amount of templates available. For the size of the book I was creating, there were only six or so templates that could be selected and then dragged onto a spread (a left and right page that are displayed and designed together) creating containers into which the images were placed. There was, for example, a template that had a vertical left page and a horizontal right page. But there was no template that had the mirror image of this: a horizontal left page and a vertical right page. Then one day I logged back on and noticed that there were now 15 or so new templates available. Some of them looked quite useful but, interestingly, the one that I thought was sorely missing wasn’t among them. Of course, because of the ease of updating the product, it could appear any day now.
Speaking of templates, I might as well discuss my experience with creating my own custom templates. The concept is simple: A template is composed of one or several containers—into which images are later placed. After laying out a template, you save it and use it whenever you want to. I made several of these and did indeed reuse them. But I would have had a much easier time making a template if the available containers included more options with a 2 x 3 aspect ratio and also if there was a horizontal equivalent for each vertical container. Strangely, many of the default containers are squares of assorted sizes. Yes, they can be stretched and shrunk any way you want, but the process could be much simpler with the right default containers. The interface includes a command that centers the container within a page and another that centers within a spread, so with the right containers it will be a simple thing to create a good template. Again, I have confidence that Artefact will address this and, from my experience with the templates, this, too, could happen at any time.
But what are the disadvantages of the Web-based philosophy? A potential disadvantage is that Artefact’s responsiveness could be dependent upon Web traffic. In practice, I discovered that once my book got up to its ultimate size of 66 pages it would take over half a minute to load, using my DSL connection. In contrast, while the book was still small I didn’t notice much of a problem logging back in and updating the book.
Images should be in JPEG or PNG format. I recommend doing the math to figure out if you have the proper resolution before uploading. I had to up-res and re-upload several images that I ran large as full bleeds (images extending to the edges of the page). Also, remember to do an appropriate amount of sharpening before uploading. Finally, ensure that your images look good on your color-corrected monitor before uploading. Artefact will allow you to do some black-and-white conversions, some resizing and even add edge effects. I used the black-and-white converter on several images. Yet on others, I felt the need to go back to Photoshop’s Channel Mixer to do the conversions. The edge effects are good. I have several edge effect programs, each of which would have enabled me to create a wider variety of edge effects. However, you can’t beat the ease with which this software allows you to place edge effects—just pick one of the choices including Image Transfer, Ellipse, Torn Paper, Brushed Edges, etc.
So, once your images are color-corrected, sharpened, and converted to black and white, they are ready for import. I separated mine into three folders—getting ready, ceremony, and reception—and did an import of each folder into its own group. The Group feature makes it easy to find the images you want when laying out the book or album. Some photographers may choose to have a category for formal portraits, bride alone, etc.
The import module is straightforward. You select the images on your disk to upload and return later when they are done. Obviously, the transfer time depends upon the image size, the compression level and the bandwidth of your connection. Each folder had about 40 images, each roughly 4000 pixels in the long dimension and saved at JPEG level 10. (I used an action that sharpened using Unsharp Mask and saved to JPEG level 10.) Each folder uploaded in about an hour.
At this point the images are collected into an event, in my case, a wedding. Artefact Studio will allow you to store any number of engagement sessions, portrait sessions, weddings, fine art books, etc. If it gets too crowded and you can’t find the more recent events as easily as you’d like, you can archive older events and retrieve them at any time.
When entering the book-building module you must first choose one of the three levels of books. The Foundation series is the basic series providing a wide variety of sizes, even as small as 3.5 square inches, but with limited paper options. The next step is the Portfolio series, providing more paper options. Finally, the Heritage series is the luxury series, which includes leather covers and paper with deckled edges. Sample kits can be ordered to see firsthand what the different papers and covers look and feel like. At past WPPI conferences Artefact gave samples to conference attendees.
Once you select one of the three series of books, you choose the size and format. The books go as large as 10 x 12 inches, some are square format, some are vertical orientation and some are horizontal orientation. At this point it is time to lay out your album. You’ll see a double-page spread at the heart of the interface. Underneath the spread you’ll see a thumbnail for each of the spreads in the book. Also, you’ll see a page for the front and back cover of the book. When you select the event you want to work with, those images’ icons become visible underneath the thumbnails for the spreads. Click on a spread to work with. Put image containers in the spread either manually using the predefined containers (and optionally resizing them) or by using a template (after which the containers can still be resized). Then, fill in the containers with the images from your event by dragging an image from the image pane right into a container. Containers can be centered with a click of the mouse—either on a spread or a page. The containers also have widgets on them to allow you to resize and move them. The basics are quite simple.
Artefact places a red guide near the edge of each page to indicate the area beyond which an image must extend in order to create a bleed. Artefact also places a smaller green guide to define the area within which all text and photos should reside to ensure it is safely within the trim area. When you place a photo that doesn’t have sufficient resolution for the size of the container selected, a yellow triangle with an exclamation point placed near the image warns you. You can shrink the container or go back to find a higher resolution version of the image to upload and replace it with.
As I already mentioned, you can define your own templates from within Artefact. Also, you can import templates that you are currently using in your studio, something that I didn’t explore. I mentioned black-and-white conversion, edge effects and resizing. You can also add drop shadows and convert to duotones. You can add text and graphics too. The fonts are very limited but Artefact intends to add more and also to support user fonts. I chose to use Photoshop to make the page I wanted with text and then imported the page and placed it as I did any other image. Artefact offers a graphics library with patterns and textures that can be can be used in your projects and not surprisingly, since they are just image files, you can import your own.
Now the front and back covers have to be designed. With the Heritage book all that needs to be done is deciding on the type of leather—no images can be printed on the covers. However, you can choose to add a dust jacket to a hardcover book. Once the book is laid out, you select the order module and wait for the book to arrive.
Artefact also has an automation capability that is ideal for such things as proof books. You define the format by placing empty containers in one page, such as a four image per page template, or, if there are a lot of images, perhaps eight images per page. You then select your event and choose the Proof Book option that will add a caption with the file name. Click Generate and it will create new pages and fill them in with the event’s images following the format you specified.
While reading this many photographers have probably been wondering: “Well, this sounds good, but how do I assure good color output?” So I asked Tim Berwin, Artefact’s chief marketing officer, about the issue. Berwin says that numerous photographers have related to him a similar story that goes something like this: “I stick with XYZ lab because they know what I am looking for.” However, Berwin doesn’t consider this a very scientific way to look at the color issue.
Berwin explained to me that good color starts with the photographer and ends with the printer. The photographer must take the responsibility to ensure that his computer monitor is calibrated. The printer must assure that there is a minimum in variability in the printers they use. Finally, the printer’s paper profiles for the various supported papers and cover materials must be of the best quality to, once again, minimize variability. Artefact uses the HP Indigo press, a digital press that offers the inherent advantages of digital technology to minimize print variability (in comparison, traditional presses often have to waste huge amounts of paper until they can produce stable color). Berwin also explained that the HP Indigo press uses an extra magenta and an extra cyan to ensure a smoother color palette.
After I made an album I had the chance to speak with Joshua Sieck, Artefact’s CEO. As an experienced advertising photographer he recognizes the challenges photographers face. “The role of a photographer has changed so much,” Sieck says. “Now you are expected as a photographer, not only to be a great imagemaker, but a master of so many disparate technologies. You have effectively moved into the printing and prepress space with color management. Workflows have gotten more complicated, not less complicated. We feel like it is our obligation, if we want to be a successful company, to begin to address and provide solutions to some of those issues.”
He says the Web-based philosophy is a crucial part of the solution, allowing developers to make frequent updates but also relieving the user of the burden of downloading and installing updates. He says that they distribute updates to users about once per week.
Sieck acknowledged that there was a need for better containers and templates and informed me that they have several designers working on them. He clued me in on the long range vision: “What we really want is for the [template] population to increase by giving designers access to the system’s software and allow them to populate it with templates which they can then make money on.”
He also mentioned the data-driven technology. The concept is to make it easier for photographers to create different books for the wedding couple, the parents, bridesmaids, groomsmen, etc. It will hinge upon image tagging—placing metadata in the image that the software will use to make variations on a book.
When I received my book I was pleased with everything—the jacket, the leather cover and the printing. The watercolor paper I chose to use gave the book a degree of thickness that, along with the leather cover, made it feel like a real book even though it wasn’t so many pages. On the other hand, the watercolor paper has a stiffness to it that makes it difficult for the book to open flat.
Also, I noticed that one image that I intended to be a bleed still had a white edge. This was my fault as I didn’t extend the image out far enough. It makes me wonder if they could develop a tool that finds such prospective problems. And another welcome addition would be a tool that estimates the book’s thickness based upon the number of pages, paper stock and cover type.
Overall, I was quite impressed by the system. I am not an album designer, yet I was able to learn the system quickly and create an album in which there was a lot of variety to the spreads and visual interest to the layouts. What is missing is help with the shortcuts—as I have mentioned, more templates and containers, especially those with the 2 x 3 aspect ratio of the digital SLRs that most photographers use.
A few other things I’d like to see: a flip image feature, containers being centered on a page by default, and the full bleed function having another option to do a full bleed by page, rather than by spread.
Artefact Studio may offer a young product but all the basics are there and because it is a Web-based platform, I saw in just a couple of days, updates that greatly improved the product’s usability. I was able to learn the system and produce a beautiful wedding album that looked great printed on its HP Indigo presses. It’s a great option for photographers to consider whether they intend to make a wedding album, a portfolio or a fine art book. And any photographer can try the system with no membership fee to see if it suits their needs.
For me the bottom line is that as a photographer I need a relatively simple way to lay out my projects. In the past, I have used QuarkXPress to design a photography book. Quark is great but it has a huge learning curve. With Artefact Studio the learning curve is greatly shortened and the results are terrific.
Larry Brownstein is the photographer of the books Los Angeles, Where Anything is Possible and The Midnight Mission. He is represented by Getty Images, Alamy and other agencies. He has a growing wedding and portrait photography business. He also offers stock photography consulting and career coaching for emerging photographers. See his work at www.larrybrownstein.com or contact him at 310-815-1402.
Related Articles
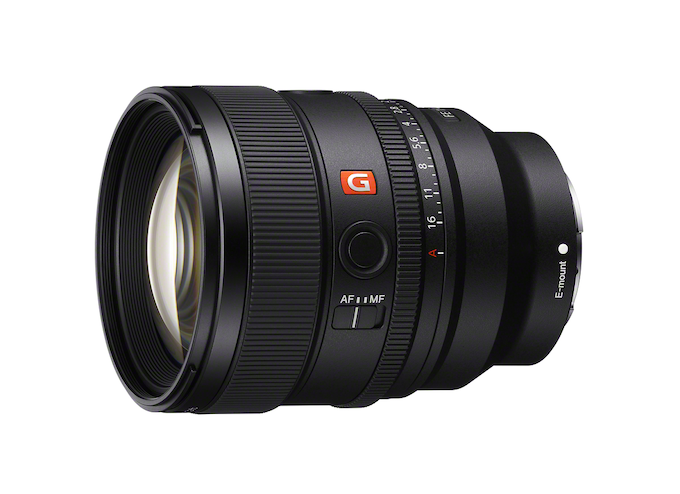
Sony’s Nex-Gen FE 85mm f/1.4 G Master II Prime Lens
September 24, 2024
For many photographers, a fast, 85mm prime lens is a dream lens. It’s perfect for a variety of portrait styles and can produce the dreamy bokeh that is the hallmark of large aperture glass. The latest 85mm prime on the market is the second generation Sony 85mm f/1.4 G-Master II. The original was introduced eight years ago, to meet (or...
More »
Canon Announces New RF28-70mm f/2.8 Zoom Lens
September 19, 2024
Canon released a new standard zoom with its RF28-70mm f/2.8 IS STM lens. This lens provides a versatile focal range similar to the RF24-70mm f/2.8 L USM lens but at less than half the price: $1,099 vs. $2,499. Granted the L designation of the older lens is, at least partly, responsible for the price difference but the new 28-70mm will...
More »

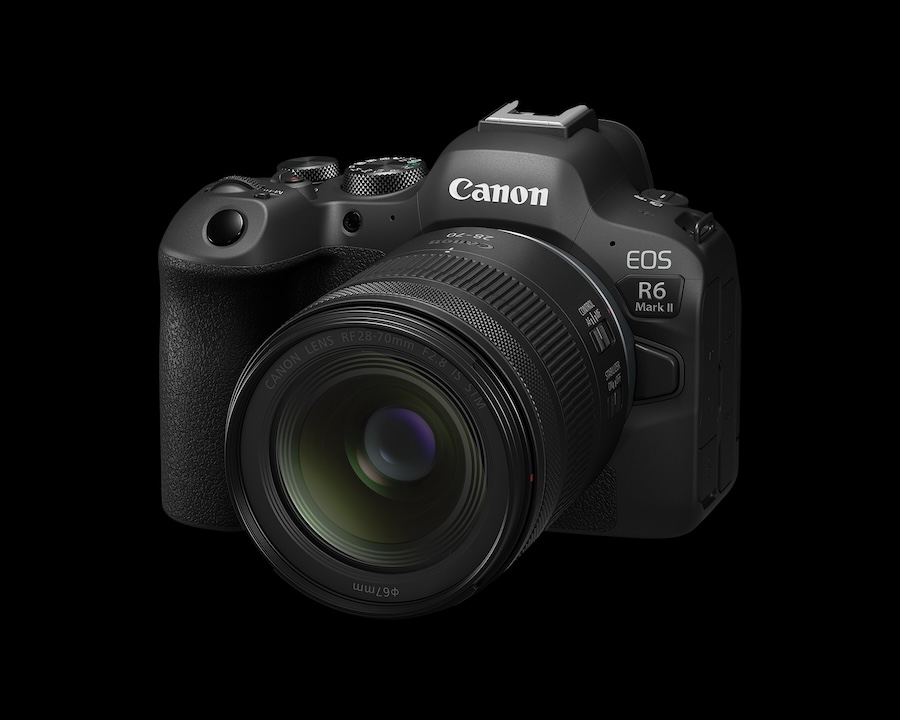
Canon Launches Two Pro-Level Cameras
July 18, 2024
Canon has officially launched two new, pro-level R-series mirrorless cameras: the 24-megapixel EOS R1 with its high speed performance and the 45-megapixel, high resolution EOS R5 Mark II. Not surprisingly, the R1 with its 40fps burst shooting will appeal to sports photographers and photojournalists—hence its built-in Wi-Fi and Ethernet. Of course, we expect to see this camera in action at...
More »
