High Key Winter
April 1, 2009
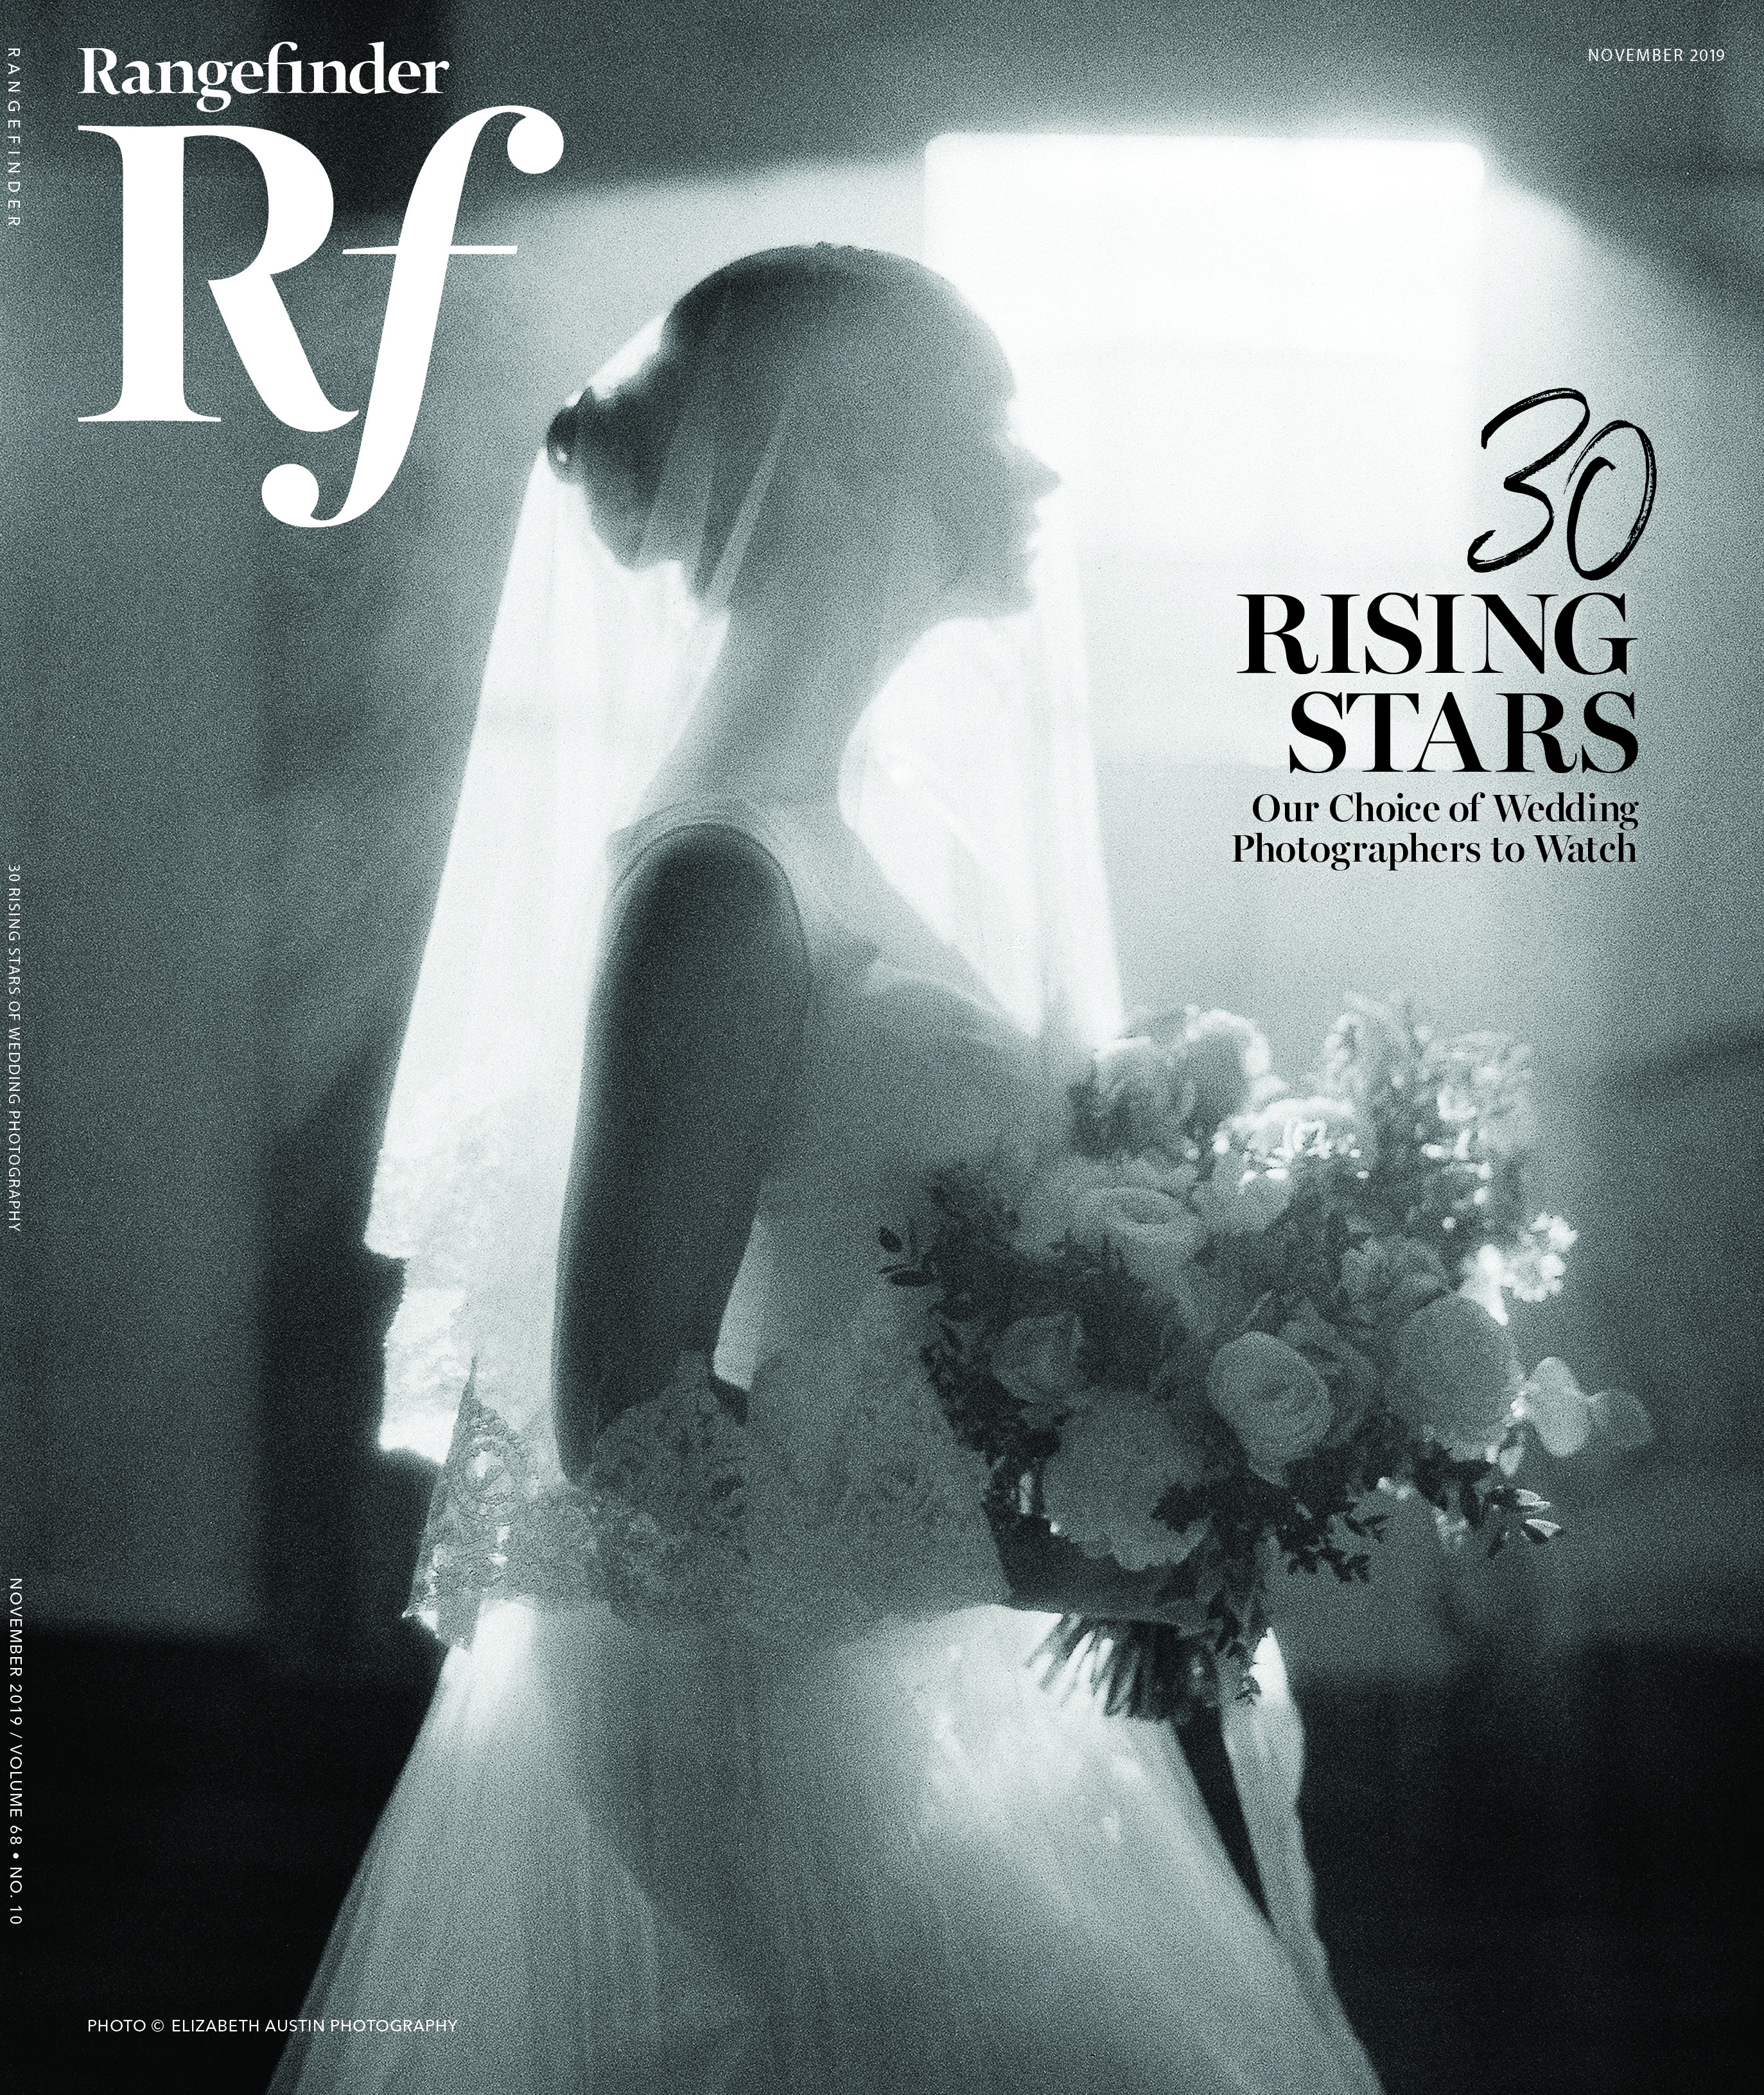
The subtlety of “white on white” or “high key” photography has always intrigued me. Being a nature photographer, the time during and immediately after a fresh snowfall is the perfect time to capture one of nature’s more quiet displays of light and texture. Aside from the “high key” subject material, one can also find hints of purples, blues and warm tones as the color and quality of light changes. The reflections of the sky onto the snow greatly affect the overall feel and color of an image. A blue sky will render a hint of blue color to the snow, depending on the film and filtration that you use. The pale white sky during a snowfall will render a dull, pale blue snow, which is better photographed using a warming filter.
One can see the tonality of the snow during early morning evolve from cold tones (blues) to warm tones (orange-ish). Don’t forget to remove the warming filter as the light warms, otherwise your snow will take on the amber tonality of your filter! The filters that one selects to use can alter or adjust the tonality. Various degrees of warming filtration (81A, 81B, 81C, 81EF, etc.) are options. Experience will determine which filter to use and when to use it to achieve your desired effect. Photographing without a filter and letting the film react to the light with its inherent properties is also a viable option in snow. That is why it’s important to know the characteristics of the films that you use in various conditions.
Film is the least expensive part of the process. It’s a good work habit to always try different ways to photograph: angle, perspective, different filters, unusual lens choices, bracket exposures, different films and film speeds, etc. Of course, if shooting digitally, these various options are available in-camera or later in RAW file processing.
Don’t forget that your camera wants to make every scene an average tonality. That’s actually okay for most images shot in nature, but not for snow or other subjects of lighter tonalities. As a general rule, you should meter the snow in the +1 to +2 range, although I personally never use +2 in my work. My normal snow exposures are +11/3 and +12/3.
I will generally bracket 1/3 stop in each direction after getting my meter reading. But, there are exceptional situations where even +3 is used! For example, when photographing a buffalo in snow, Rod Planck, a well known nature photographer, meters the snow at +3 in order to register detail in the dark animal in a very high contrast situation. That exposure will obviously turn the snow into a detail-less white sheet, and is the trade-off for retrieving detail in the buffalo. The same exposure would be used to render detail in any dark subject in snow.
In order to concentrate and not be distracted by the cold when working, it is critical to keep your hands, head and feet warm. Spend the extra money to get top quality insulated boots, gloves and headwear. You won’t regret it!
Photographing in the snow can be a thrilling and image-rich experience, not to mention financially rewarding. Stock agencies are constantly requesting winter images. As master nature photographer John Shaw says, “In our business, bad weather is good weather.” So, get out there and go to work!
Tony Sweet (https://tonysweet.com) is a professional nature/fine art photographer, lecturer, workshop leader and author living in Baltimore, MD.
Related Articles
AIBP’s Boudoir Photography Competition: The Visionary Awards
August 21, 2024
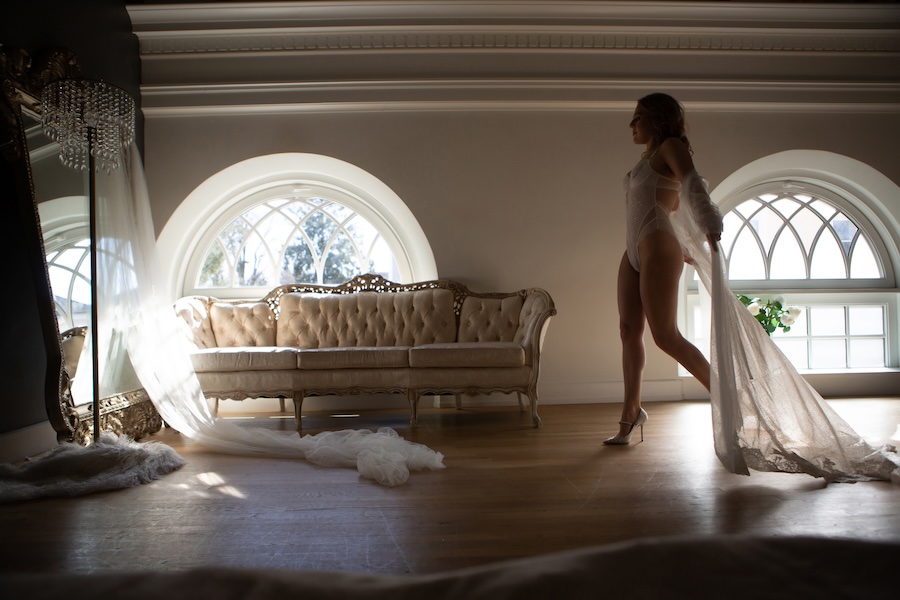
The Association of International Boudoir Photographers (AIBP) has announced their inaugural edition of the AIBP Visionary Awards, a boudoir photography competition. Since 2009, AIBP has been the leading boudoir photography association, providing a community space for photographers to enhance their craft, build their business, network with colleagues and explore educational resources. Their new competition is accepting submissions from now until...
More »
Legend Elopement Photography Awards: Round 2 Winners
July 30, 2024
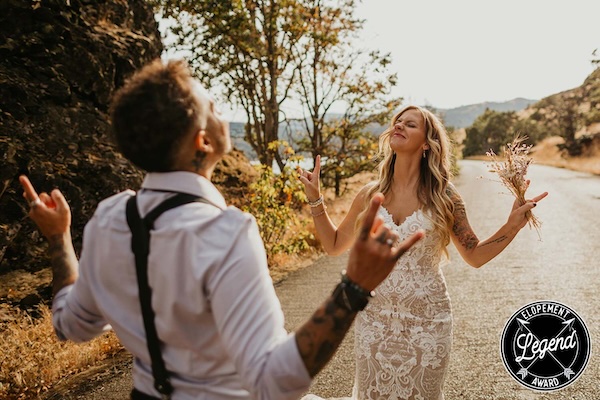
The Legend Awards is a photo competition for elopement photographers to show off their documentary photography skills. This article features some of the award winning images from Round 2. See the full gallery of winners here. What stands out in each of the award-winning photos is the emotion and personality of every couple. In these images, we can learn something about...
More »
Icons of Fashion Event with AB+DM & Lindsay Adler
July 24, 2024
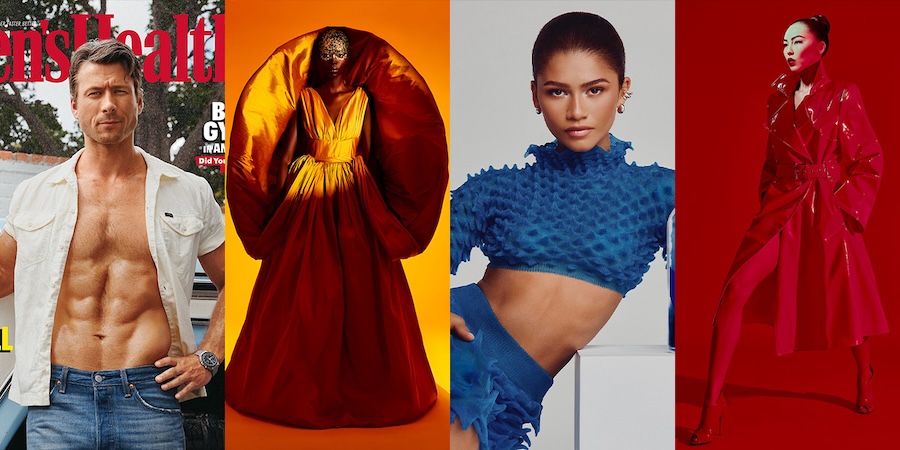
Beloved WPPI educator Lindsay Adler will be joining with AB+DM Studio – Ahmad Barber and Donté Maurice – for an exciting weekend event entitled Icons of Fashion. Part lecture and part shootout, this event offers “a behind-the-scenes look into the world of fashion photography and creative mastery.” On the first day, attendees will have access to multiple iconic fashion looks...
More »