
Getting That Genuine Cinematic Look with DSLR Video
May 28, 2015
There’s no arguing it—film is beautiful. It has a quality unlike anything captured with digital video, and its cinematic look is something many DSLR filmmakers covet. But it’s not just about simulating the look of film; it’s about creating a complete video with a look, mood and emotion.
There is no camera preset to achieve this and software plug-ins alone won’t do it. Rather, filmmakers are using a combination of camera settings, movement, lighting and post processing to achieve a more cinematic look—and we’ve devised a pretty good recipe for creating it.
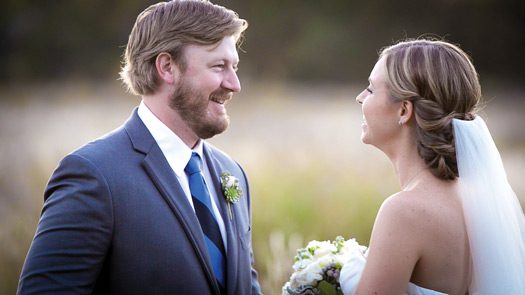
Why are DSLRs great filmmaking tools? Large sensors and wide aperture lenses deliver a beautiful shallow depth-of-field to emphasize your subject. Photo © Brian Dooley
Camera Settings
Shallow depth-of-field is one of the key qualities when using a DSLR to capture video. But it’s also the DSLR’s fast lenses that allow photographers to capture quality video even under challenging lighting conditions.
“Having fast lenses that are f/2.8 and faster can give you a really good cinematic look,” says Samantha Rayward of My Cinematic Wedding. The company’s cameras, which include several Nikon DSLRs and a Sony FS700, offer excellent high ISO performance. Fast optics such as the Nikon 35mm f/1.4 and 50mm f/1.4 are key to achieving a consistent look to their projects. “We often don’t have control over lighting,” Rayward says. “So, we like to shoot with cameras with excellent high ISO capability that results in less noise. That noise has the potential of really decreasing the cinematic feel.”
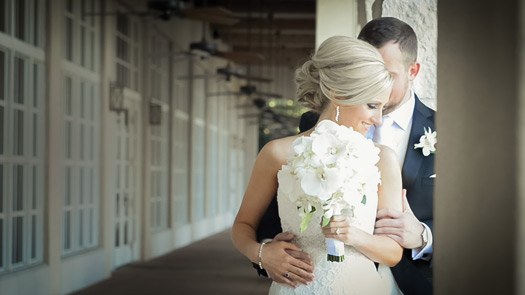
A still from one of Brian Dooley’s wedding films, extracted from video recorded with the Nikon D800 at 1080p using the 70-200mm VR II lens. Photo © Brian Dooley
Recording your video at a frame rate of 24 frames per second is recommended because it’s the rate that’s been associated with motion pictures for over a hundred years. At this frame rate, there is a slight blur accompanying the motion that our eyes are accustomed to. Traditional video is captured at a faster frame rate of 30 fps, which—while smoother and more realistic—looks appreciably different than film.
Andy Owen of Owen Video follows the standard cinematic script: a frame rate of 24 fps and a shutter speed set to double that, either 1/48 or 1/50 of a second. But that’s not to say faster frame rates don’t have their place. Owen will occasionally bump it to 60 fps to capture fast-paced action during the reception that he’ll later slow down in post for a slow-motion effect.

Andy Owen of Owen Video follows a standard cinematic script when filming with his DSLR: he sets it to 24 fps with a shutter speed of double that. Photo © Andy Owen
Beyond exposure, there’s image compression to consider. Most high-end DSLRs and mirrorless cameras let you output uncompressed (or much less compressed) video from the HDMI output to an external recorder. Much like the difference between a JPEG and a RAW still photo, this “raw” video footage will appear flat and desaturated at first glance, but contains more information and therefore more latitude to tweak exposure in post production. Many wedding videographers, however, prefer to record straight to memory card rather than fumble with external recorders. While recording straight to card means more video compression, you can still optimize your settings to deliver a video file that’s amenable to post processing, Owen says.
A flat picture profile may be preferred because the increased tonal range it provides is easier to control, edit, color-correct and color-grade. Many new cameras have specific flat or neutral profiles designed to help achieve this look.
Martin Bentsen, also of My Cinematic Wedding, actually prefers to shoot using the standard picture style, thereby reducing the need to color-correct every clip. He instead leaves the heavy color grading for the edited montage, which he delivers to his clients. “To get more range, I’ll desaturate the color a bit when I pull the files into Final Cut 10,” Bentsen says. “I’ll adjust the brightness and add a color tint such as a slight blue in the shadows and warm up the highlights, which results in a very filmic look.”
.jpg)
Shooting video in a flat or neutral color profile in camera will give you more leeway to make colors pop in post- processing software. Photo © Steve Graham
“We shoot as flat as possible,” Owen adds. “We start with a neutral profile and then add contrast and sharpening back in post.”
Brian Dooley, of Brian Dooley Wedding Videography, cautions that if it’s too flat, “you’ll crush your blacks,” or leave yourself potentially unnecessary work in post. “If you’re reasonably well exposed in camera, the colors you can get are still fantastic,” Dooley says.
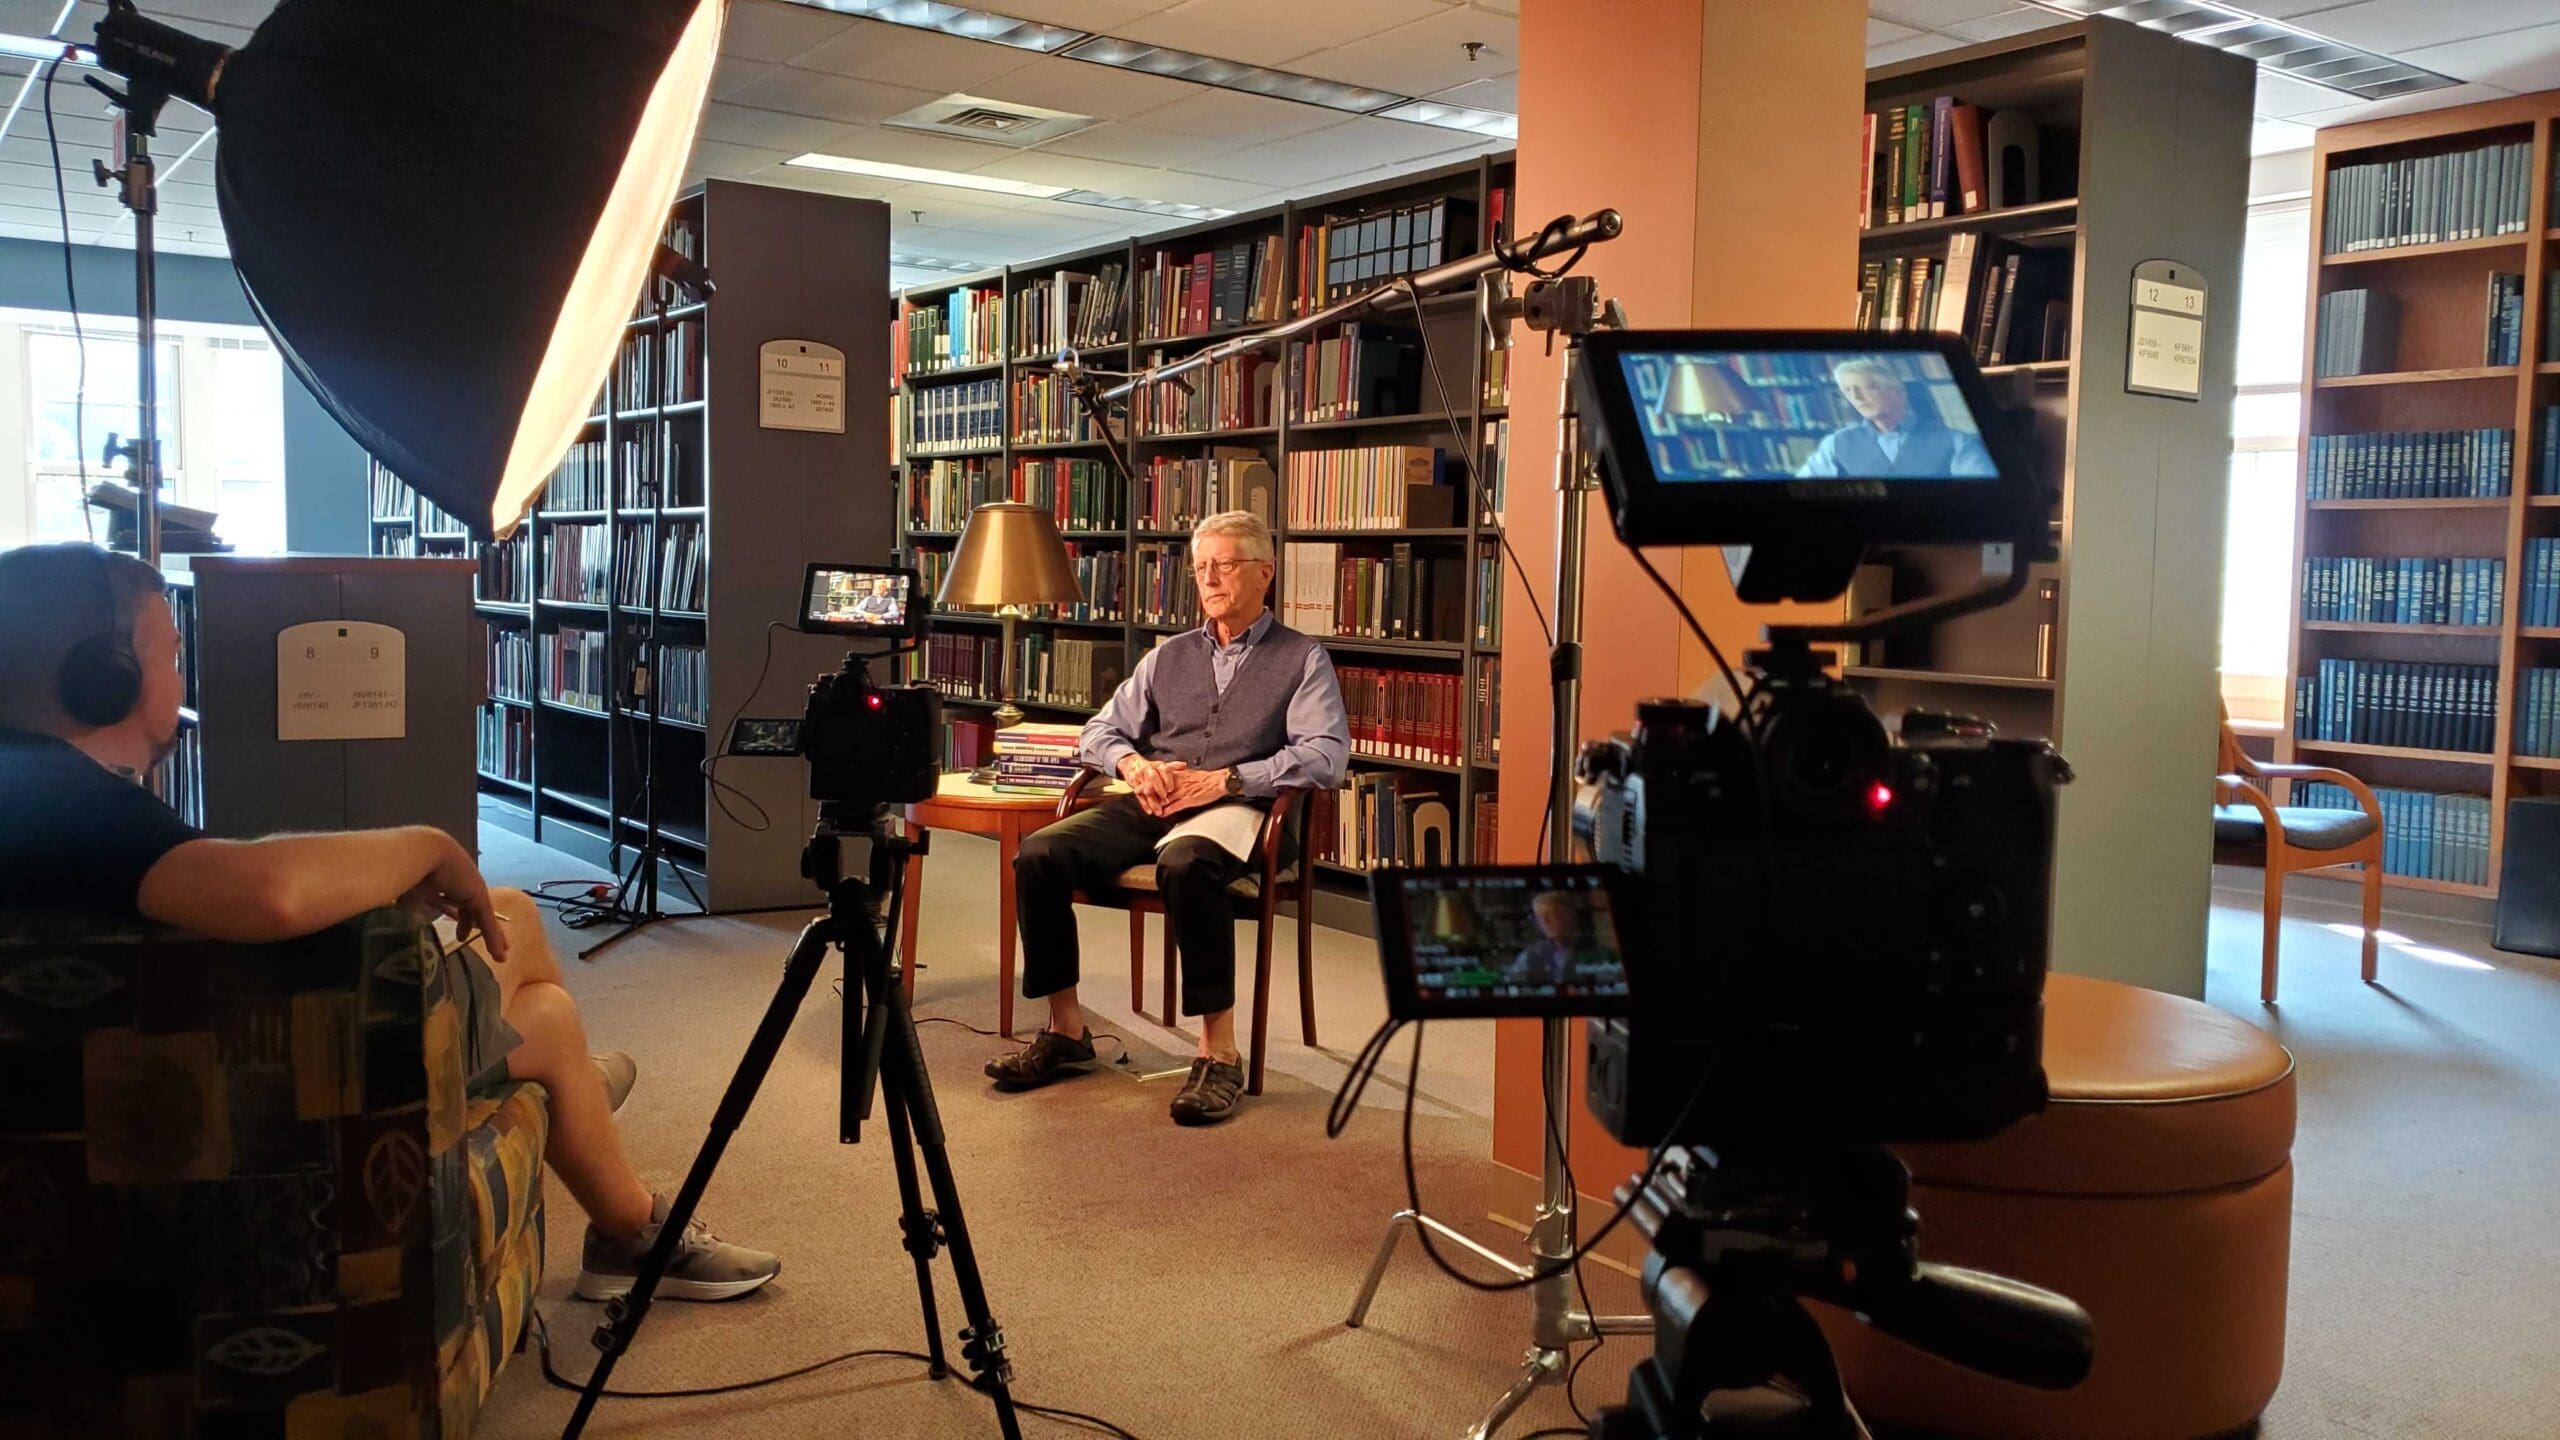
Lighting is always key, but it’s especially important to think ahead about how the color will be graded during post processing. As event shooters often face challenging lighting conditions, it’s important to record footage with a camera that provides excellent high ISO performance. That combined with fast fixed lenses maintain the quality of the footage. “We bring quite a bit of lighting with us,” says Steve Graham of Cinemedia. “Thank goodness for LEDs. We dial in the color temperature and we’re able to shoot at between f/4 and f/7 and keep the ISO low.” Though high noise levels can be reduced in software, the resulting loss in sharpness, detail and color fidelity can make achieving a cinematic look that much more challenging.
Movement
While cameras have made huge strides in image stabilization, shooting hand-held is still something of a no-go area for wedding videographers. “I never shoot handheld since it has more of a documentary look—it’s not as romantic,” said Alex Karas, co-founder of Voila Cinematic. “Every camera movement has to be fluid.”
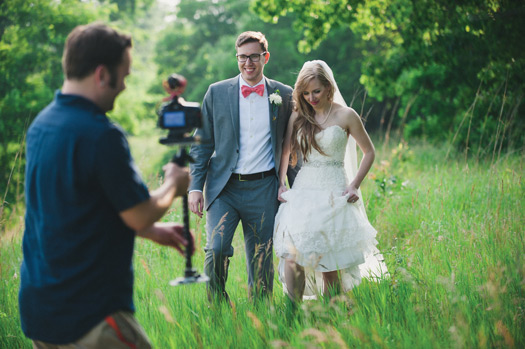
Save handheld shooting for documentaries. When it comes to weddings, most videographers like Owen, pictured here, opt for Glidecams and other stabilizers for silky-smooth footage. Photo © Andy Owen
In fact, Graham, Owen and Karas all use Glidecams to keep camera motion smooth. For establishing shots and detail work, Dooley relies on a Kessler Pocket Dolly to gently pan the camera. Drones, too, are an increasingly favored tool for wide-angle establishing shots that sweep across the venue grounds. If you’re leery of sending a drone aloft, a jib crane can give a “broader feel to your footage,” especially outdoors, Owen says.
Graham has a simple mantra when it comes to camera movement and angles: variety is key. “We try to never use too much of one thing,” he explains.
Video Editing
Color grading is best left for the end of the process when you have a final edit of your project. If you don’t wait, you’re spending unnecessary time adjusting footage that won’t be part of your final project. Like writing, editing is a process of experimentation and revision and your early drafts may not resemble the final result. So, make the most of your time and wait till the end to tackle color grading.
Blackmagic’s DaVinci Resolve, Adobe Premiere and Apple’s Final Cut have built-in tools for both color correction and color grading. Though there can be a slight learning curve involved in understanding and mastering these tools, they’re a viable option for those who want to maximize control or don’t have an interest in purchasing and using third-party presets.
Tools such as RGB curves and the three-way color corrector in Adobe Premiere or the videoscope tool in Final Cut 10 provide the ability to control individual color channels, but also isolate such effects to the shadows, mid-tones or highlights. While you can limit your use of the controls to eliminating color cast, they can also be powerful for achieving stylized color for a scene or project.
“A lot of photographers forget to desaturate their files,” says Bentsen, who explains that this step is essential. “It makes it difficult to color-grade when you don’t. When you do, it makes it easier to match the files even if they are produced in different cameras.”
There are numerous plug-ins for your preferred video-editing application; a go-to tool for many of the videographers we spoke with is Red Giant’s Magic Bullet Suite. Its straightforward drag-and-drop interface makes it easy to apply and evaluate its 198 presets to achieve a filmic look within a few moments. It also provides the ability to customize that look with respect to saturation, hue, grain and more. “I like the desaturated tone I can achieve,” Karas says.
The Magic Bullet plug-in not only mimics a variety of film stocks, but also applies custom-designed color renderings that might take hours to create and apply when doing them manually. The Magic Bullet Suite includes several applications including Colorista III for professional-level color correction, while Magic Bullet Film 1.0 emulates the look of the photochemical process, mixing and matching 22 negative stocks and four print stocks.
“No matter what technique you choose, the story is paramount,” Graham says. “At the end of the day we’ve built a business around telling stories. It’s the stories that draw you in.”
More
Product Roundup: 10 Video Cameras to Suit Your Needs, Wallet and Skill Level
5 Steps to Playing Matchmaker Between Music and Motion
Behind-the-Scenes Tips on Shooting Cinematically with Ease
Related Articles
A Trio of Announcements from Sony
July 14, 2023
Sony just announced several new products including the FE 70-200mm f/4 Macro G OSS II lens, the a6700—its latest APS-C mirrorless camera—and the Sony ECM-M1 Compact Camera-Mount Digital Shotgun Microphone. All three should be available in August but we got a sneak peek to share with you ahead of shipping. Sony FE 70-200mm f/4 G OSS II Most photographers (at...
More »
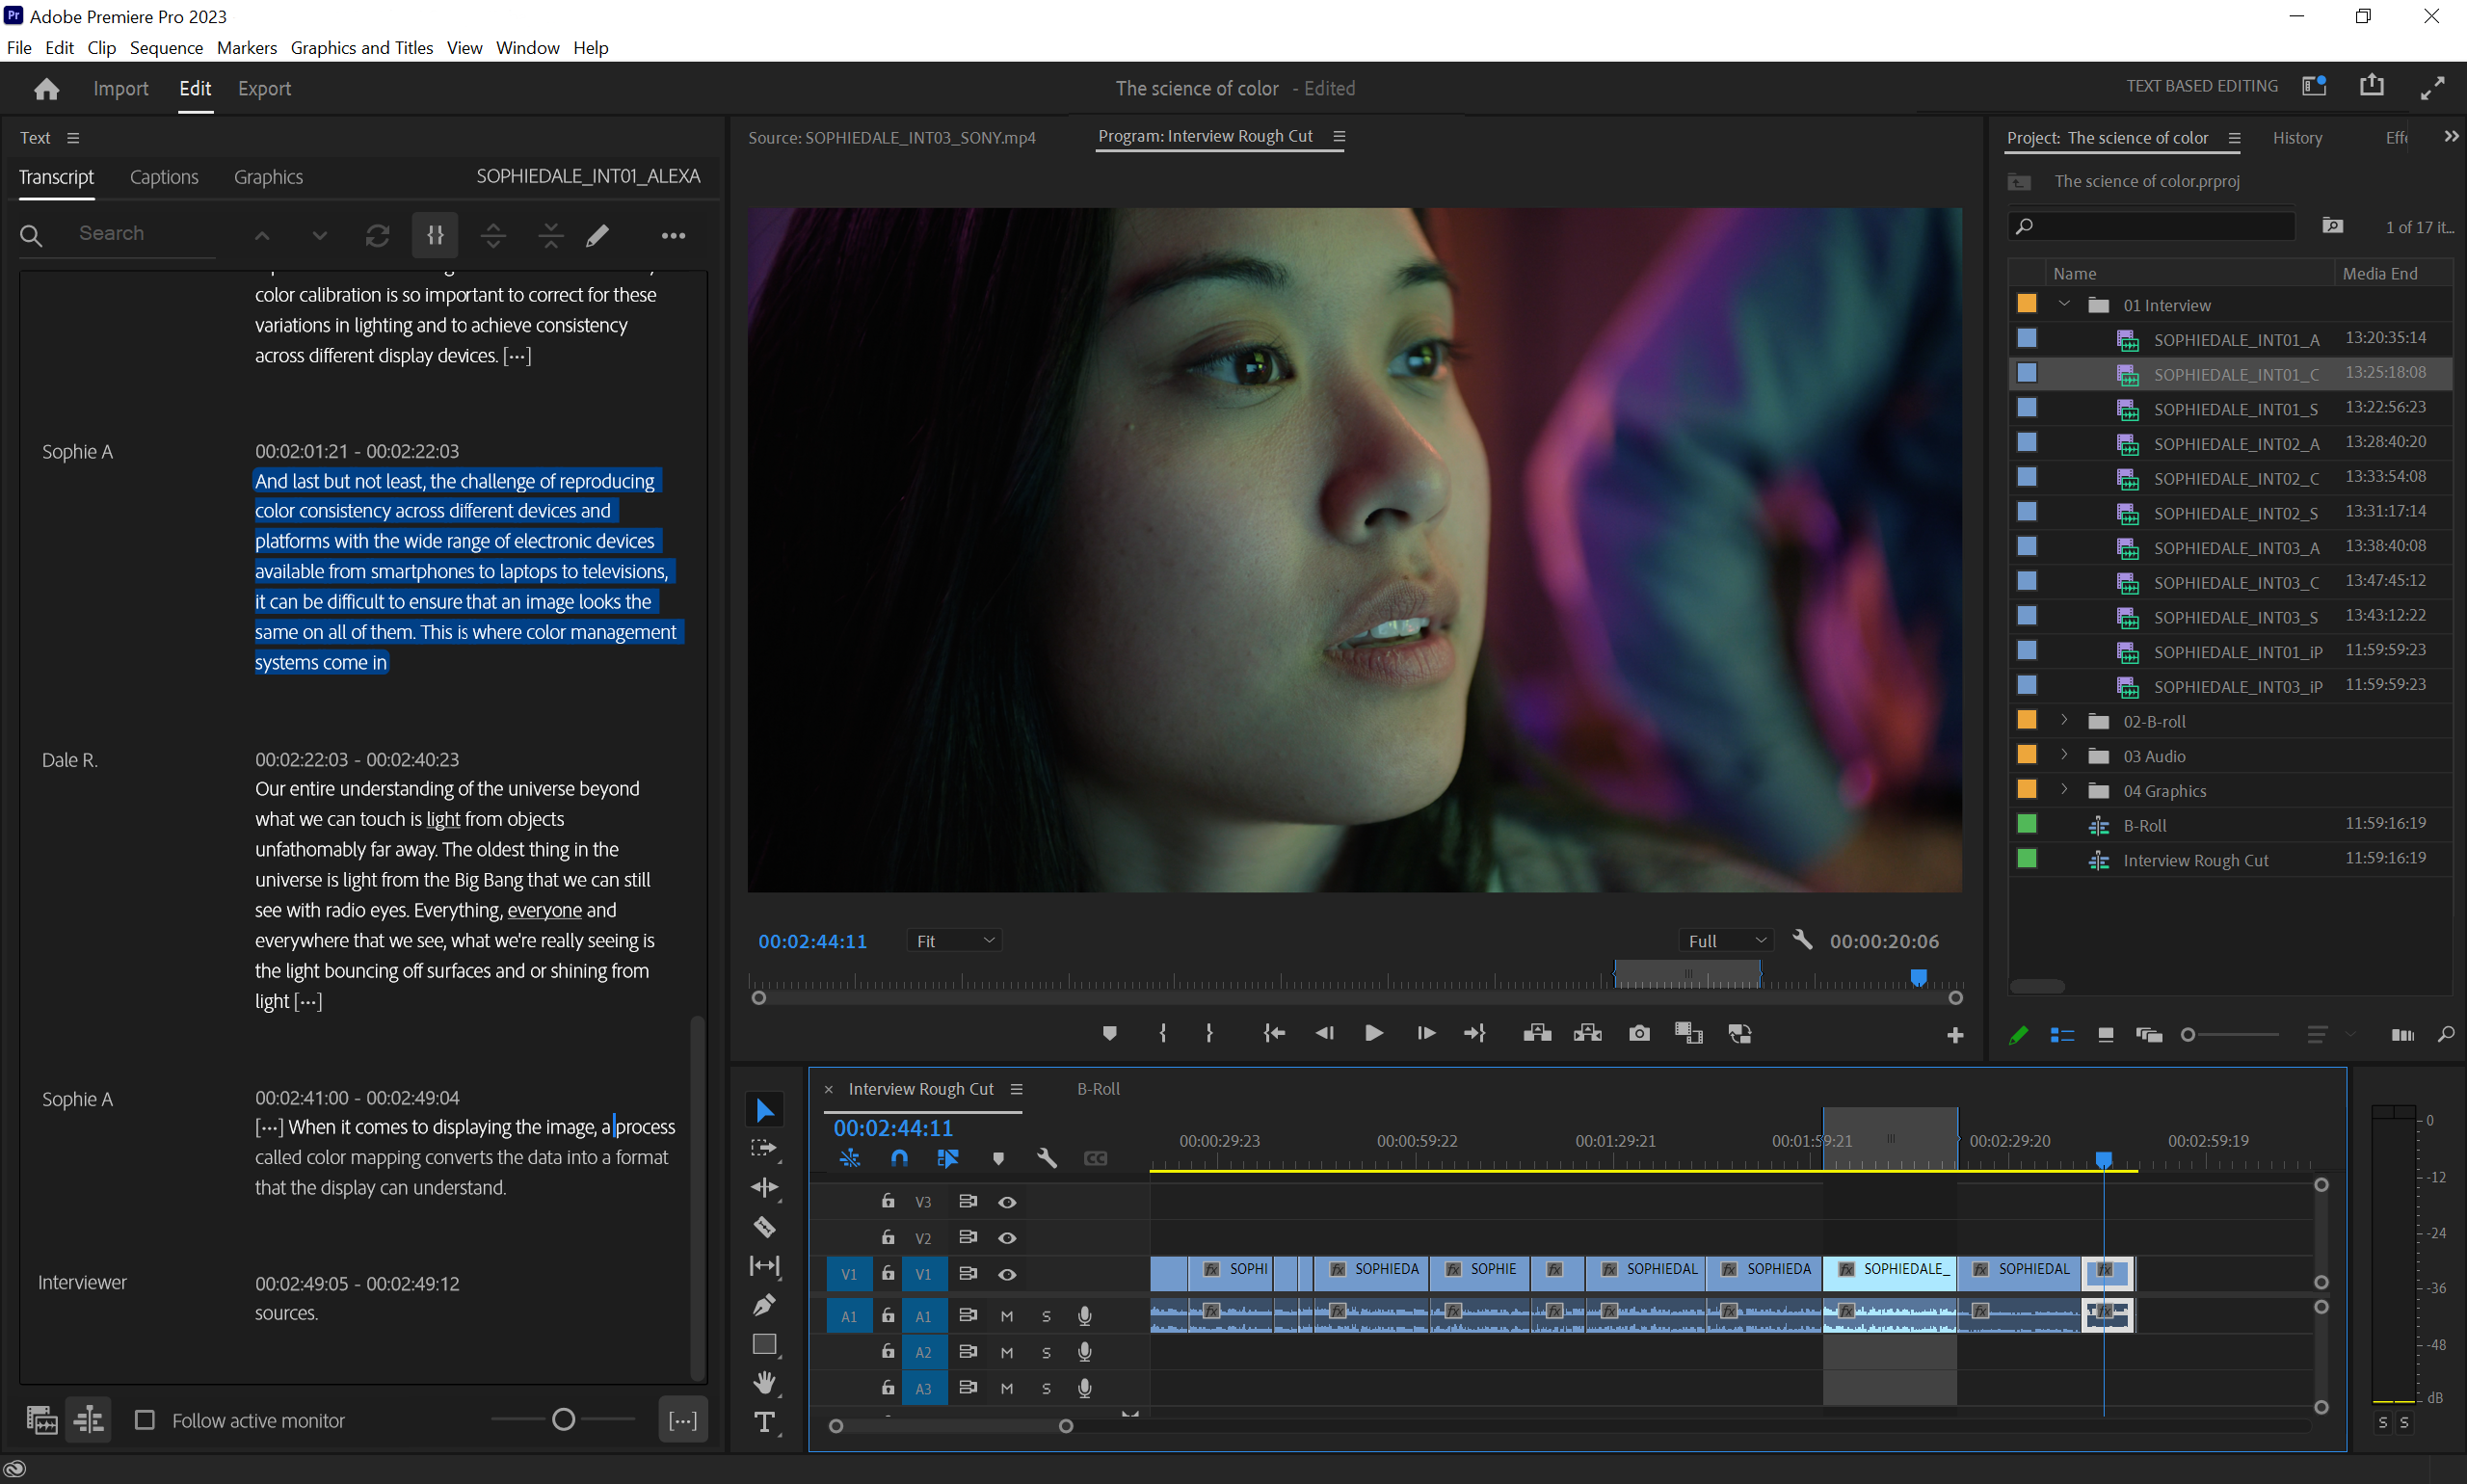
ADOBE UPDATES PREMIERE PRO
April 13, 2023
Just in time for this year’s NAB, Adobe announced some updates to Premiere Pro—the software that was used to edit 2023 Oscar-winning films such as Best Picture winner Everything Everywhere All at Once (which racked up a total of seven Oscars including Best Editing and Best Documentary Feature, Navalny). And while you may not have Oscar aspirations, Premiere Pro has...
More »
What’s Inside My Camera Bag: Filmmaker Jordan Bunch’s Go-To Gear for Documentary Shoots
August 5, 2021
If you looked inside the camera bag of a filmmaker, what would you see? Film guru Jordan Bunch reveals the gear he carries for with him on documentary shoots.
More »
