
Lighting
10 Portrait Photography Lighting Mistakes Easily Fixed
March 17, 2021

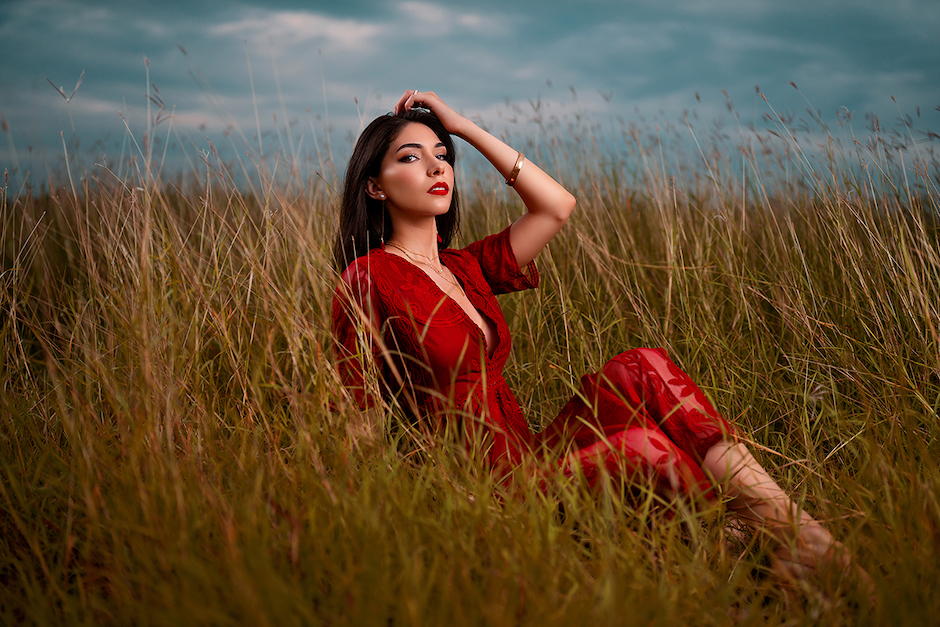
Catch lights, says Gress, are just reflections of your modifier in your subject's eyes. "If you don't see them, just lower the light ever so slightly until they show up [as in this model's eyes], because almost every image can benefit from a little sparkle."
For photographers just starting out, it’s normal to make some common portrait photography lighting mistakes. All that really matters is to make fewer mistakes when you go out there again, continue to work on the things you need to improve and get better over time. Most importantly, “don’t let these mistakes make you feel discouraged,” Chicago-based photographer John Gress advises. To help, he has a video on YouTube outlining the 10 portrait photography lighting mistakes he says every new photographer makes—and outlines easy fixes for each.
We trust Gress knows what he is talking about—for over 20 years he has created stunning photography and videos for some of America’s largest companies and international media outlets. His work has included national lifestyle advertising, portraits and videos for the beauty industry and action photography of professional athletes. Professional Photographer Magazine even went as far as calling Gress “one of the nation’s foremost experts on lighting.”
[Read: Off-Camera Flash Photography: Five Techniques for Dramatic Portraits]
In the video below, Gress outlines some very common portrait photography lighting mistakes new photographers make and suggests easy fixes. We’ve excerpted 5 of them for you here.
Lighting Mistake #1: The Curse of the Raccoon
Gress says one of the most common mistakes you can make is placing your light too high. “As a result, you won’t have any illumination on the top sides of your subject’s eyelids. If your light is really high, you won’t have any light whatsoever on their eyes at all.” He suggests lowering the light just slightly, which will really help make for better images in the end. “Just make sure you don’t go so low that you start lighting the underside of your subject’s nose.”
Mistake #2: Catch-Up
Once you’ve lowered your light enough so that you see illumination on the top sides of your subject’s eyelids, Gress says to make sure that you see catch lights. “Simply put, catch lights are just reflections of your modifier in your subject’s eyes. if you don’t see them, just lower the light ever so slightly until they show up, because almost every image can benefit from a little sparkle.”
Mistake #3: Fill Who?
“A lot of times people take a single flash and they put it off to one side and it creates a lot of shadows which go jet black and there’s absolutely no detail in these areas, Gress explains. “What you want to do is use what’s called fill to, well, fill in the shadows. I made a video about this topic in depth and you can click on it HERE. In general you just want to reflect light back into your shadows with a light, colorless surface or you want to use a second light that is less bright than your main light to brighten up these areas.”
Mistake #4: I’m Not Green With Envy
Beginners always like to use continuous lights because a lot of them are very affordable, says Gress, and what you see is what you get. The main problem with the kits that you’ll find on sites like Amazon, hE ADDS, is that they’re powered with compact fluorescent light bulbs or cheap LED light bulbs and the color accuracy isn’t really there. “That causes you to have green skin tones or yellow skin tones and it just looks fairly gross. The other problem with continuous lights when you’re using them for photography is that you’re sacrificing a lot of quality all around because they’re just so dark so if you’d like to learn more about this topic, I made an entire video about it and you can find it by clicking right HERE.”
Mistake #5: You’re Too Flat
Normally, says Gress, the first light that anybody owns is a camera mounted flash, and by default it points directly at your subject. “If you use it in this position you’re going to end up with some really ugly light. That’s why it’s far more common for people to use bounce flash where they bounce the flash off of white ceiling but the problem with this sort of light is that it’s just very flat and it doesn’t have a lot of shape or character to it.” The best thing that you can do, he advises, is to move it a few feet off to the right or off to the left, either using a hardwired cable or some form of wireless technology. “This will greatly improve your results.”
[Read: Creative Lighting Techniques for Portrait Photographers]
Discover the next 5 mistakes—such as why you shouldn’t bounce light off the sky or a black ceiling (you need a nearby surface that reflects light, or a lighter-colored surface 20 feet up)— and how to fix them HERE. For a full list of all of Gress’ lighting gear, click HERE
Tune in to Gress’s lighting webinar, “Transitioning From Window Light to Flash”, presented by Tamron and part of Rf+WPPI’s Reset Series, on Wednesday, March 17 at 4 pm EST (and available on demand after that date). Register for the webinar HERE.

Related Articles
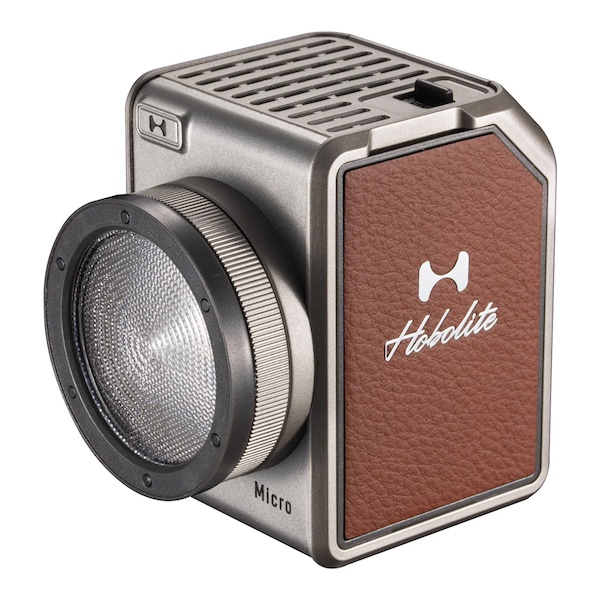
The Hobolite Micro—Perfection in a Pint-Sized Package
September 26, 2023
Form and function are perfectly matched with Hobolite’s latest release, the Hobolite Micro. This diminutive, bi-color, battery-powered LED light takes some of its cues from the company’s larger, more powerful siblings but doesn’t skimp on features. Yet it’s small enough to fit in the palm of your hand—or anywhere other lights are too bulky to fit, a special bonus for...
More »
How Francisco Joel Hernandez Adds Depth to His Portraits
March 6, 2023
WPPI 2023 speaker Francisco Joel Hernandez has been a fan of off camera flash for over a decade and loves sharing his process on social media.
More »
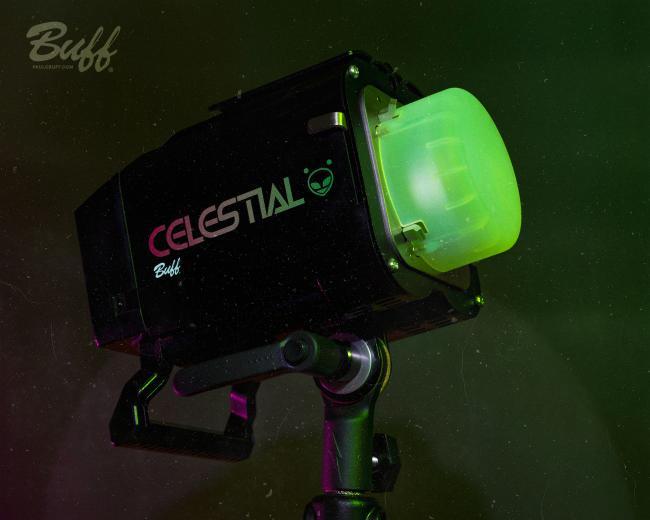
Paul C. Buff’s Celestial is a Powerful Battery-Powered Strobe
January 5, 2023
Lighting Company Paul C. Buff is best known for its studio lights—such as the Alien Bees and Einstein—but the company’s latest strobe is entirely battery powered. Arriving on Jan. 20, the Celestial is a battery-powered flash with up to 500 Ws of power and features like High Speed Sync. The Celestial: Battery Power Paul C. Buff’s Celestial delivers up to...
More »
