
Lighting
Foolproof Portrait Lighting in Three Simple Steps
July 26, 2022

From the very beginning of the art form, portrait photographers have been trying to create better portraits by harnessing and shaping light. From trays of explosive gunpowder to powerful mirrors to north light windows, techniques and tools have been the pursuit of every portrait photographer throughout the 19th, 20th, and 21st centuries. Fortunately, we are living in an age with powerful and versatile lights and ultra sensitive camera sensors (our ancestors would call that film). But all the camera and lighting gear won’t do you any good without the techniques to back them up. That’s where my foolproof portrait lighting steps come in.
[Read: Photo Lighting Hacks: Mental Shifts for Stand-Out Images]
The following foolproof portrait lighting principles will solve even the most difficult lighting scenarios. Practice this three-step process whenever the going gets rough and you will be able to pull out of any potential lighting catastrophe.
Shade and Relight
Whenever you are faced with extreme lighting conditions—like a clear sunny day where the sun is creating harsh shadows across both the landscape and your client’s face—it’s time to shade and relight. Here’s how:
3 Foolproof Portrait Lighting Steps:
1. Find the ambient exposure.
Find your composition and your ambient exposure for the background. In this case, we used a long, tree- lined country road and set our shutter speed at 1/200 sec. at f4.5 and ISO 100. The sun sparkles nicely through the trees, but the client was not only uncomfortable in the sun, the sun created very harsh shadows across her face and body.
2. Find or make shade for your client.
Often times, this can be done by putting your subject in the shade of a tree or a building. But sometimes, it is as simple as putting them in their own shade by facing them away from the sun. In this instance, we parked the client’s Jeep in the shade of a large tree and posed her on the hood. Of course she was too dark for the ambient exposure, so light was needed.
3. Light your subject following your observations of the ambient light.
Look at the ambient light’s quality, color, and direction and then add the appropriate light to make the client fit into the scene as though they were being lit by the ambient light source. In our case, it was the sun, so we added a hair light behind and to the left to add a rim of light on her and the Jeep. You can see this rim of light on her cheek and in her hair. This hair light is coming from the same direction as the sun, so it feels completely natural on her body, but unlike the sun, we can control it completely. The next light is also placed to the left of the subject to match the direction of light from the sun, but we cheat it around to the front of the model to provide the fill necessary to expose her correctly and add some beautiful shape and volume to her face. Using a Profoto B1 and a Deep XL Silver Umbrella, we created a large, but specular light source that lights the client and her Jeep in keeping with the general rules of light we observed from the surrounding ambient light.

This simple method of shading your client and relighting them to match the surrounding light is an effective way to get a beautifully lit photograph in almost any circumstance, no matter how harsh the sun gets.
[Read: Harsh Light Photography: How to Work It and Love It]
It doesn’t just work for harsh lighting conditions. Even when the sun is not out in full strength, the method works very well for a group portrait at a wedding. In this case, we wanted to keep the bride and her bridesmaids comfortable in the shade of the beach house, while using the ocean as a beautiful background (below). If we didn’t use the shade of the beach house, the women would be squinting directly into the sun which was softened only by thin cloud cover. So we employed the shade and relight technique.
- We chose the spot, looked for the background and possible shade, then we exposed for the sky.
- We placed the subjects in the shade.
- We added just one Profoto B10 flash with a 2×3-foot Softbox at a 45-degree angle from the camera. In this case, because the sun was behind a light cloud bank, there wasn’t a significant direction of light, so we were able to put the flash on the right or the left side of the group.

No matter what kind of lighting scenario you find yourself in, even indoors with incandescent lighting and constant light sources, you can follow the same technique. The process is the same. Just pay attention to the direction, the quality, and the color of the existing light. In the final example, I took a portrait of my children for a Holiday greeting card. The existing light was from the lights on the Christmas Tree and and the garlands in the background. I followed the same simple steps to create the lighting scenario for this indoor shot using all incandescent light.

- I chose the framing and exposure for the background (1/40 sec. at f/4 at 3200 ISO). This gave me the best exposure for the glowing Christmas lights.
- The kids were far away from the light source, so they needed their own light source. How better to match the light of a Christmas tree than with more Christmas lights. We simply hung them between the camera lens and the subjects. This gave our subjects a very soft glow, and some great depth to the shot, but their faces were still a bit dark and they didn’t necessarily separate out well from the background. Still in shadow.
- We added one 2700 K constant light at the top of the staircase to light the darkened stairs. We added another light as a hair light, pointing at the back of the kids’ heads to give them a rim light. And finally a 2700K light with a 2×3-foot soft box to the right of the camera to fill in their faces with beautiful, directional, soft light.
Inside lighting, outside lighting, flash, constant…it doesn’t matter. The method is the same. So when you are practicing your lighting techniques next, remember these three foolproof portrait lighting steps for setting up any lighting scenario. They will simplify the entire process and help you avoid those moments of panic, frustration or indecision.
• Find your background.
• Determine the direction, quality and color of light.
• Place your subject in shade, or out of the problematic ambient light, then add your lights (flash or constant) to fill in the subject.
Aways remember to follow the light that already exists. It has given you the rules for lighting your subject. Slow it down and walk through the process step by step. It works every time.

Jared Platt is an international wedding, lifestyle and portrait photographer who began his studies in photography in documentary and landscapes. Today you will find his images are a perfect blend of landscape, documentary, and portraiture. You can find him teaching foolproof lighting techniques and other aspects of his craft online and at International photo conferences around the globe, including WPPI. He has been teaching photography for over 20 years and has been a working photographer for the last 25.
Related Articles
The Hobolite Micro—Perfection in a Pint-Sized Package
September 26, 2023
Form and function are perfectly matched with Hobolite’s latest release, the Hobolite Micro. This diminutive, bi-color, battery-powered LED light takes some of its cues from the company’s larger, more powerful siblings but doesn’t skimp on features. Yet it’s small enough to fit in the palm of your hand—or anywhere other lights are too bulky to fit, a special bonus for...
More »
How Francisco Joel Hernandez Adds Depth to His Portraits
March 6, 2023
WPPI 2023 speaker Francisco Joel Hernandez has been a fan of off camera flash for over a decade and loves sharing his process on social media.
More »
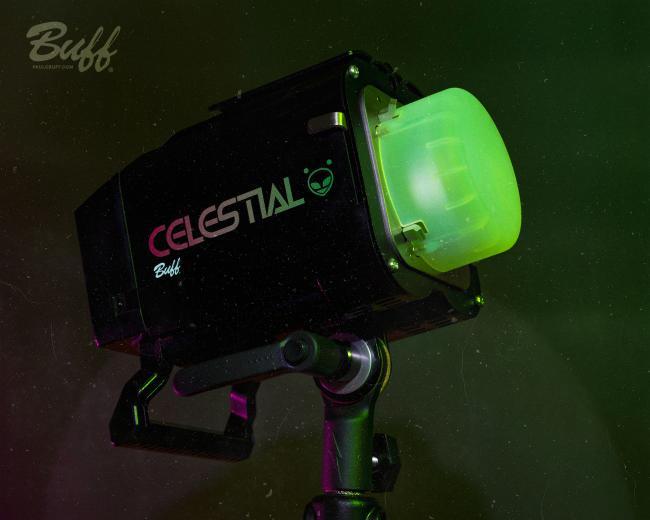
Paul C. Buff’s Celestial is a Powerful Battery-Powered Strobe
January 5, 2023
Lighting Company Paul C. Buff is best known for its studio lights—such as the Alien Bees and Einstein—but the company’s latest strobe is entirely battery powered. Arriving on Jan. 20, the Celestial is a battery-powered flash with up to 500 Ws of power and features like High Speed Sync. The Celestial: Battery Power Paul C. Buff’s Celestial delivers up to...
More »
