
Tips + Techniques
How to Launch a 3D Virtual Photo Exhibition: A Case Study
June 22, 2020

On June 15, fellow wedding photographers and fiancés Matt Badenoch and Corina Cherciu launched a 3D virtual photo exhibition of their street photography after having to cancel a planned in-person exhibition because of the COVID-19 pandemic. They are also using the exhibition to raise money for World Vision (an international NGO COVID-19 Crisis Response), which is helping some of the most vulnerable communities around the world (100 percent of Badenoch’s and Cherciu’s print sale profits are going to this cause).
So far they’ve hosted a launch party on Zoom, launched a 3D virtual gallery that you can actually “walk” around (they’ve also added audio, with stories behind the photos and street photography tips), a print gallery (which is how they’re raising funds) and an Instagram exhibition (including in-depth stories, videos and live Q&As).
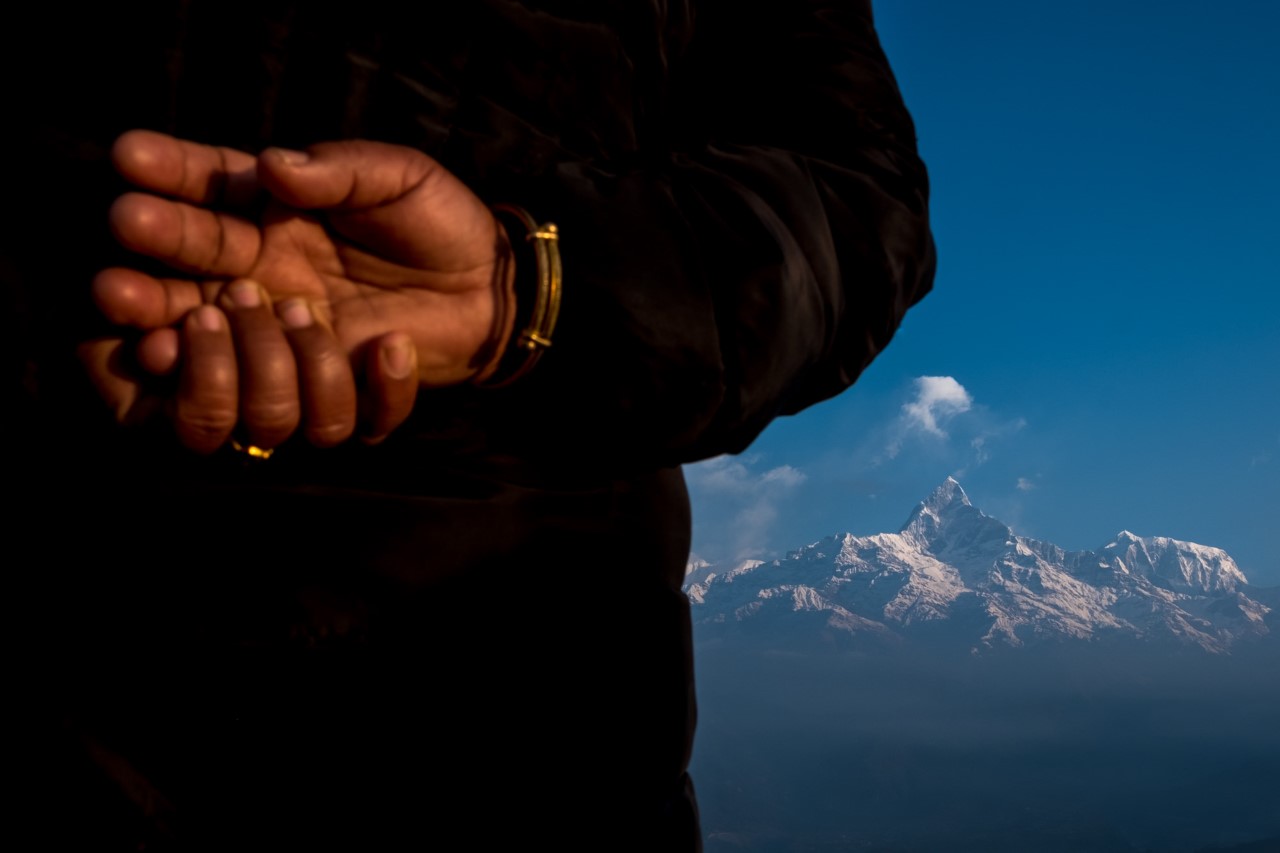
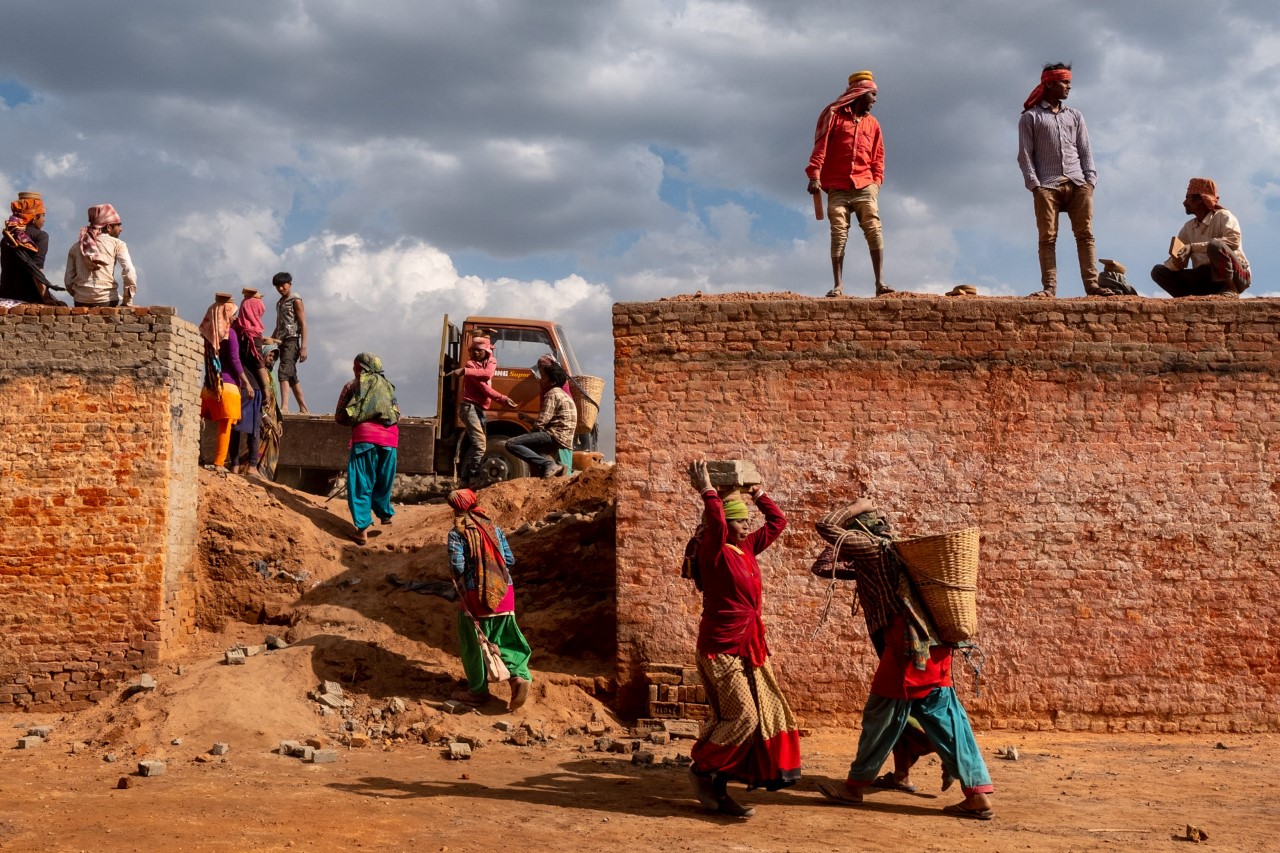
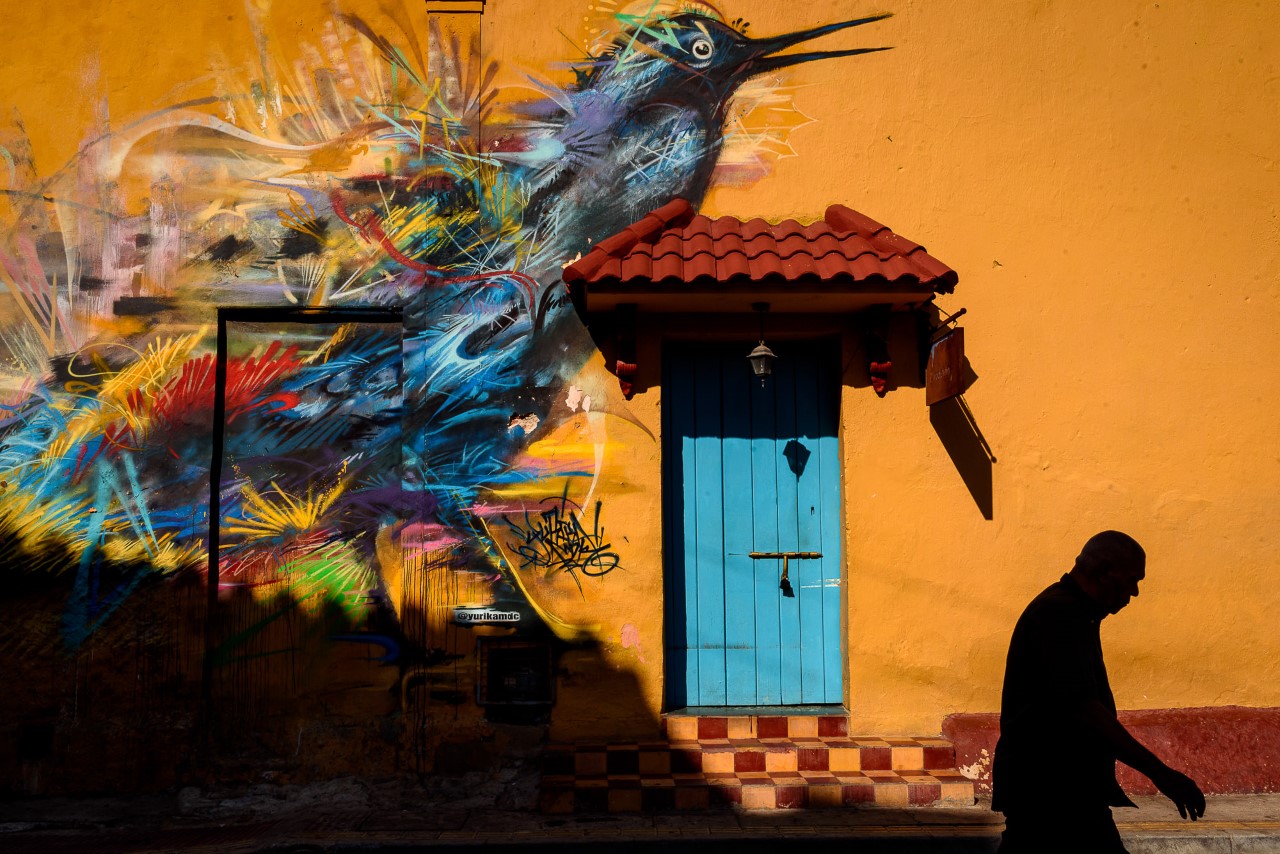
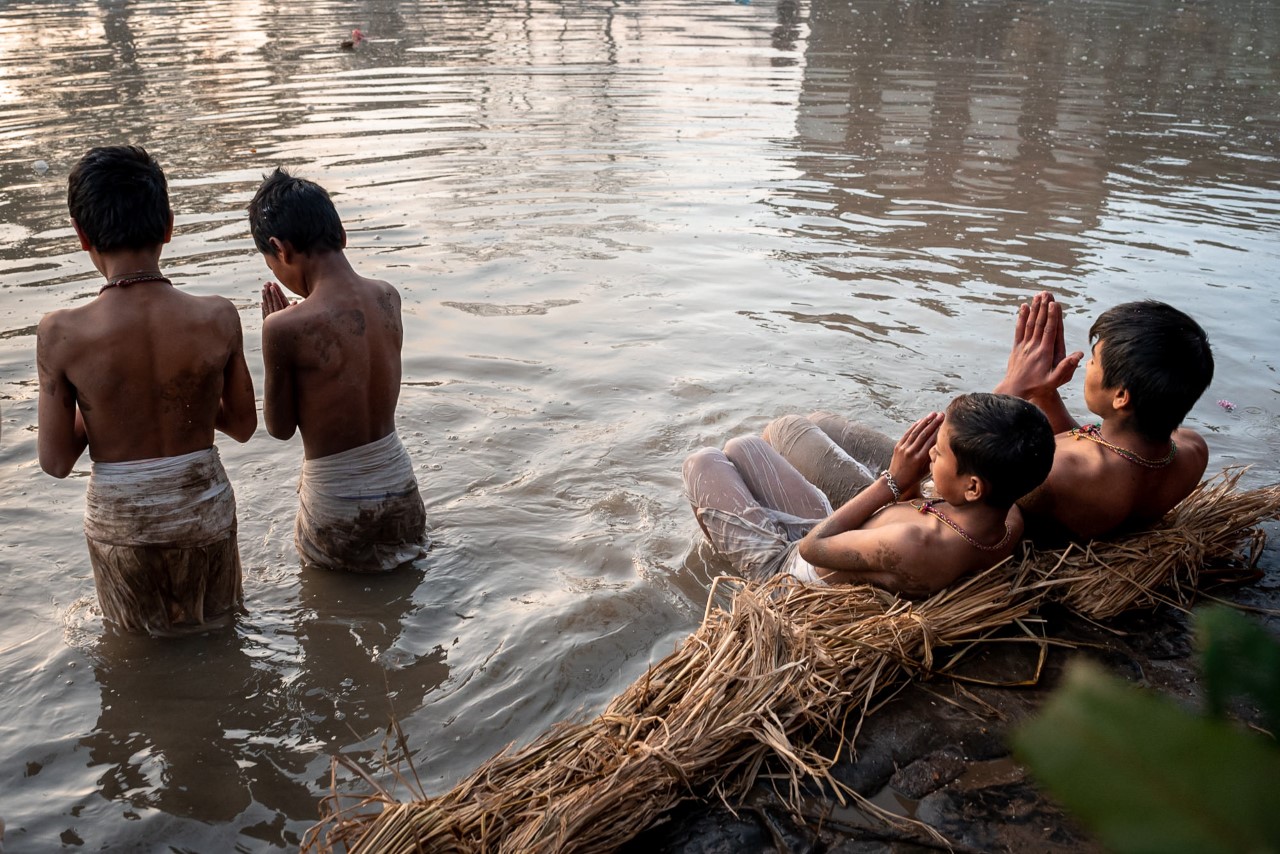
I asked Badenoch to take us through the key steps of how he and Cherciu put the exhibit together, using 44 images total (22 from each of them).
What made you decide on doing a virtual gallery, and how did you begin? Had you seen other similar online exhibits?
We mentioned to a friend that we were planning an online exhibition, and she mentioned seeing a 3D virtual gallery used for a museum exhibition. We checked it out and immediately saw an opportunity to take our exhibition to the next level. The only issue was that the images were a bit pixelated—not ideal when you’re trying to showcase your photos—so we did some research to see if there were any other options out there. That’s when we came across the impressive platform created by Kunstmatrix, which is what we used for our 3D gallery. Another selling point to use that platform was the option to add audio to each image.
What are some of the pros of running a virtual exhibition versus a physical one?
Most noticeable has been that people have joined it from all over the world from the comfort of their homes, allowing a lot more exposure to our work than we ever thought possible. Secondly, we are still in a pandemic, so we are being responsible and safe at the same time.
What were some of the other tools or software needed to get started?
As mentioned, we used the Kunstmatrix platform to create our 3D gallery on their website and then embedded it on a page on our websites. It took about two days to put together, test and iron out the bugs. For the print gallery that we also set up to sell prints for charity, I used Pixieset, which is what I had already set up for my wedding work, and Loxley Colour to supply the prints. Loxley Colour and Pixieset can be fully linked together and automated, meaning that once you’ve set it all up, there’s no additional work for each print order. You’ll also need a payment system setup like Stripe or Paypal to receive the payments for the prints. We used Instagram via our phones to record the live Q&As and uploaded the content for the posts directly through the app. The plan was to use the scheduling app Later to prepare the content in advance but we ran out of time.
How long did the project take you to complete, from beginning to end?
It was two weeks of brainstorming and two weeks of preparing the content. In hindsight, we should have put aside a minimum of three weeks to prepare the content. We also just added the option to buy digital downloads from our print gallery for people based overseas and not wanting to pay the higher transport fees. This way they can order their prints locally—that’s better for the environment, too—and we now have an option on the website to donate directly to the charity for anyone who’d like to support it but who maybe doesn’t want prints.
What about the audio? How much time was needed for each image?
Some photos were easier to write for and some we wanted to say more about, so the time it took varied. I’d say it took roughly 15 to 20 minutes to write and record the audio for each image. With 22 images each, it was a full day’s work.
How did you decide on the amount of images, and how long did it take to edit down from your respective bodies of work?
The first exhibition room we looked at had a capacity of 45 images. There was an option to add additional rooms and images but we felt like 44 would be a good amount. If we added more, we feared people could feel overwhelmed by the size of the gallery and be unlikely to take it all in.
To someone who’s never done this before, getting started might feel overwhelming. What would your biggest pieces of advice be?
I would say you really need to consider the following before you begin:
1. Figure out the purpose of your virtual exhibition. It’s not enough to just say, “Hi, look at my pretty photos.” You need a message, you need a “why.” This why then becomes the foundation for your exhibition. For example, our exhibition had two why’s: share our passion for street photography, including tips and advice, and raise money for a cause we were passionate about and raise awareness about the issue.
2. Decide what tools you’re going to use and the purpose for each. Different tools can offer different ways of sharing a story and information. Decide which ones will work best for you and utilize their strengths.
3. Give yourself enough time to prepare most of the content in advance. During the exhibition, you should be free to engage with your audience, fix bugs and issues that might arise, have space to implement new ideas as the exhibition runs and promote your exhibition. Creating the content will also likely take longer than you expect.
4. Build hype. Get people excited in advance with a launch party, teaser posts and maybe a video trailer. We invited 50 people—close friends and family—to a private event we hosted on Facebook, and also direct-messaged many of them, since lots of people don’t see notifications these days. We used Zoom for the call—we have a pro account so we aren’t capped at 40 minutes—and the whole thing lasted about an hour. On the call, we started by sharing why we were running the exhibition, both the stories behind it and our two key motivations: raising money for the COVID-19 Crisis Response and sharing our passion for street photography. Next, we talked about how the exhibition would run. We then gave our attendees a chance to be the first people to walk around our virtual 3D gallery. After about 15 minutes, we jumped back on the call for a Q&A. The response from the attendees honestly blew us away! We were super nervous about putting our work out there, so doing the launch party really gave us the confidence to jump into the exhibition the following day with excitement.
5. Promote it. Get your exhibition in front of as many people as possible by thinking who might find it interesting and of value. For our exhibition, we reached out to friends and family, people who joined us on the trips, street photography communities, development communities, travel communities and photography communities whose audiences might be interested in this amazing new way of sharing your work.
What are some other things you had to really think about before moving ahead? For instance, how did you know what to price the prints at?
Like a lot of photographers, we’ve always struggled with pricing, especially when it comes to pricing our own worth and the worth of our photos. We had lots of chats about it, did research on what others charged for prints—it varied a lot—and asked a few friends for their thoughts. In the end, we settled with roughly a four-times mark up—so if the print cost us $2.50, we charged $10. One week into the exhibition and we feel like this was about right.
Tell me a bit about what the Instagram exhibition includes.
It includes Instagram posts on both Matt and Corina‘s feeds with ten photo carousels and text sharing our experiences, stories and tips, as well as Instagram stories that go into a bit more detail on some of the photos. There was also cross-promotion from each other as we were both running the exhibition on our separate Instagram accounts with our own work. And we reshared stories of people giving the exhibition shoutouts, showing their prints as they arrived, which was so cool. We used IGTV for our live Q&A and some videos with tips on street photography. It’s been really exciting using different media and digital tools to share stories in different ways.
You launched on June 15 and the exhibit runs until July 28. How did you decide you would only keep it up for two weeks?
We initially planned to run our exhibition for a week but quickly realized that we needed more time to share the content we intended to. We also realized that it was going to take at least a few days to build up some momentum, so we changed it to two weeks and spread out the content we were sharing as part of the Instagram exhibition. Plus, Corina’s family, from Romania, could join easily enough, and we knew that if something is only available for a limited time, people are more likely to check it out as there is a fear of missing out.
What’s next for you two?
As much fun as it is to work on the exhibition, we also needed to get back to what pays the bills for us: our wedding photography businesses. So realistically, we needed an end point. We will be leaving the webpage and Instagram posts up indefinitely. Naturally, the Instagram posts will move further down as we post new wedding-related content. As we’re paying monthly for the 3D gallery, we will need to close it eventually but will probably leave it up for at least a few months. We’ll keep an eye on what the traffic is like and how many people are engaging with it.
Related Articles

Why Felix Kunze Thinks We’ve Been Overcomplicating Lighting (And What He’s Doing About It)
July 24, 2025
When it comes to lighting in photography, most of us instinctively reach for soft, flattering light. We diffuse our flashes, shoot through umbrellas, and seek out cloudy days. But what if I told you that some of the most striking portraitYou know the moment: your subject is ready, you’ve got about five feet of space to work with, and the...
More »

How to Photograph Fireworks for Couples Portraits
October 24, 2024
Fireworks aren’t just for the Fourth of July! You’ll find them regularly at theme parks, sporting events, and maybe more surprisingly, at weddings. For the latter, fireworks offer photographers a wonderful opportunity to capture epic couples portraits with a truly unique backdrop. Of course, if you’re not familiar with how to photograph fireworks, there are some basic tips you’ll want...
More »

Why Top Photographers are Embracing Hard Light (And You Should, Too)
October 23, 2024
When it comes to lighting in photography, most of us instinctively reach for soft, flattering light. We diffuse our flashes, shoot through umbrellas, and seek out cloudy days. But what if I told you that some of the most striking portraits actually come from embracing hard light? That’s exactly what renowned photographer Roberto Valenzuela teaches in his groundbreaking new Dynamic...
More »
